In late 2006 my passion for Porsche that had been kindled by owning a boxster lead me to search for a 911. In February 2007 I found a lovely, well used 964 carrera 2 coupe in GP white and embarked on a new adventure. This running report is about my 964 that would be used for high days, holidays and track days and be a 'project car'. It wouldn't matter if it spent time waiting for things to be fixed as it wouldn't be used as a daily driver.

Monday 24 December 2012

DIY Floorboards (Jul 10)

A while ago I did a temporary fix on the driver's footwell when I found the wet, rotten soundproofing under the carpet, by filling it with some light weight foam and putting a board on top. Last summer I finally got round to doing a proper job by making some wooden floorboards like those found in the cup cars. Here's a pic of friend's (Ian Reynolds) cup car floor board:


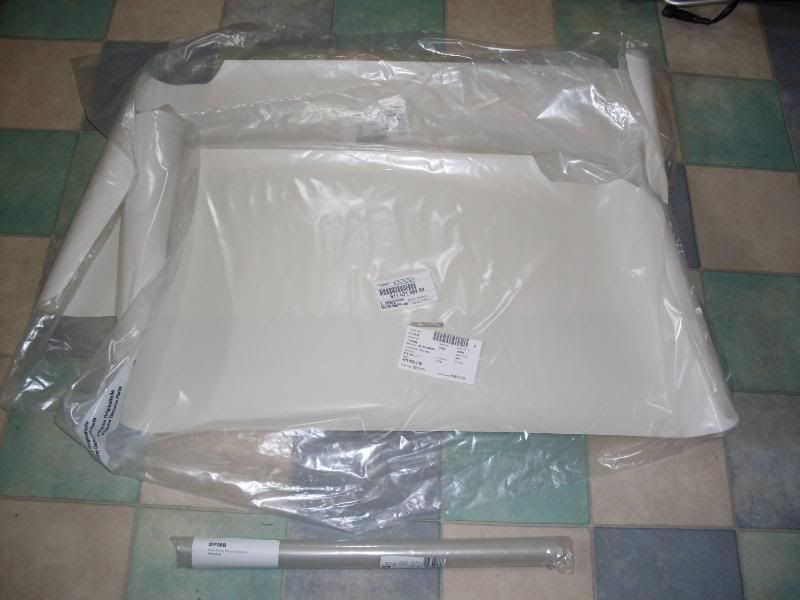
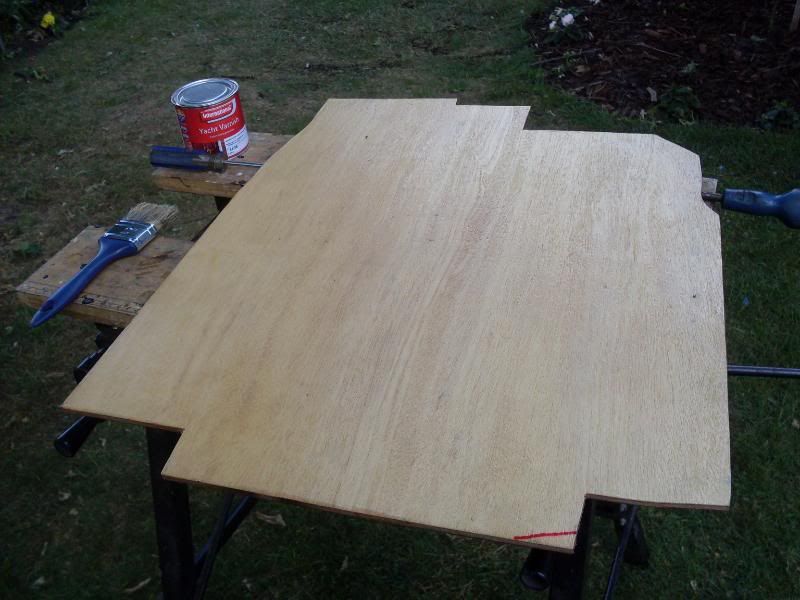
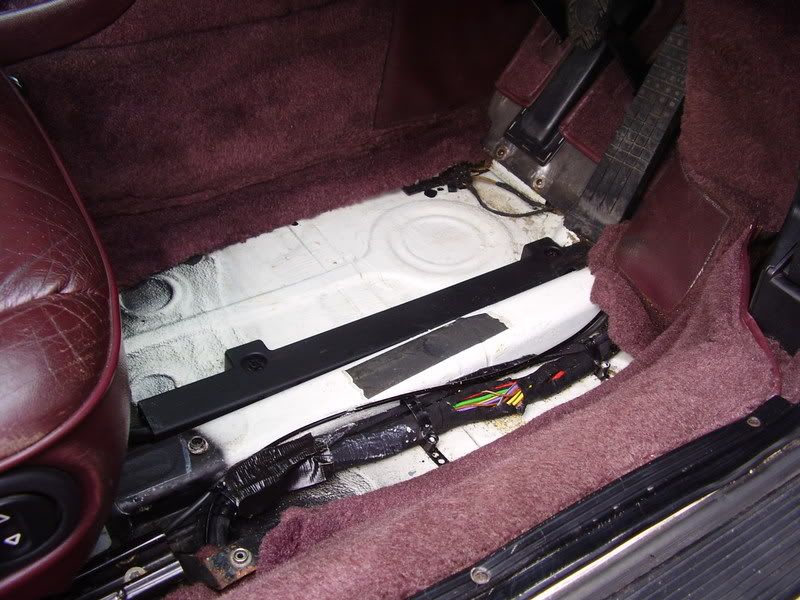
First job was to get the seats out, remove the carpet and everything else in the foot wells. I could then get to work on making a template from cardboard before breaking out the jigsaw on some 6 mm plywood. That was followed by a good coating of yacht varnish:


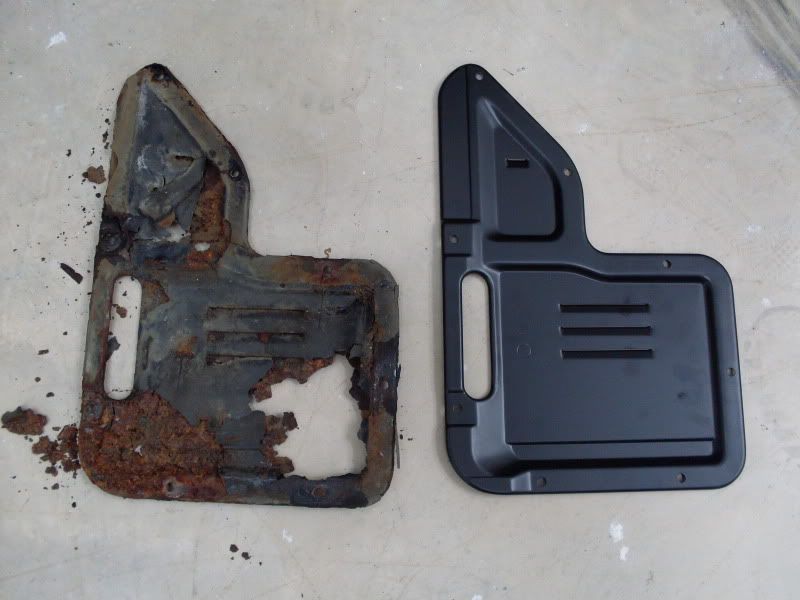
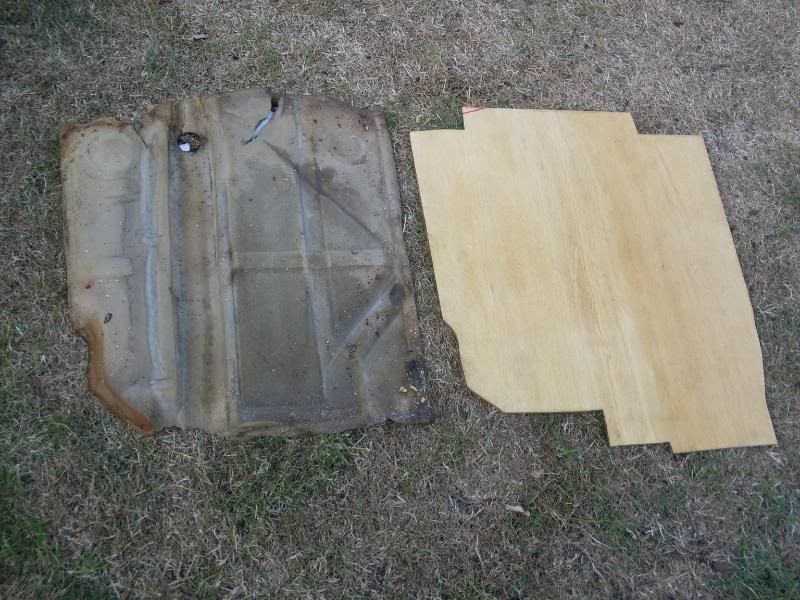
Here's a piece of the old soundproofing next to one of the new floorboards. The sound proofing pieces weighed 3.5 Kg each and the replacement boards just 2 Kg each:


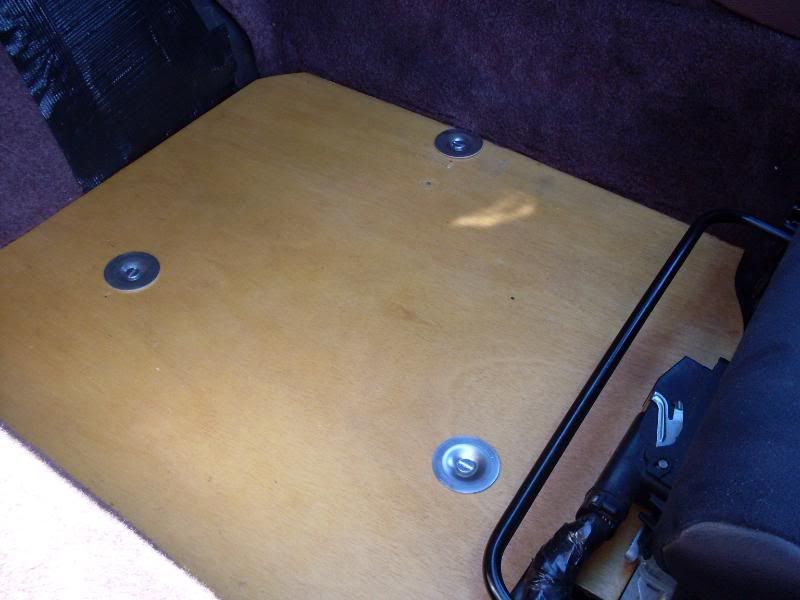
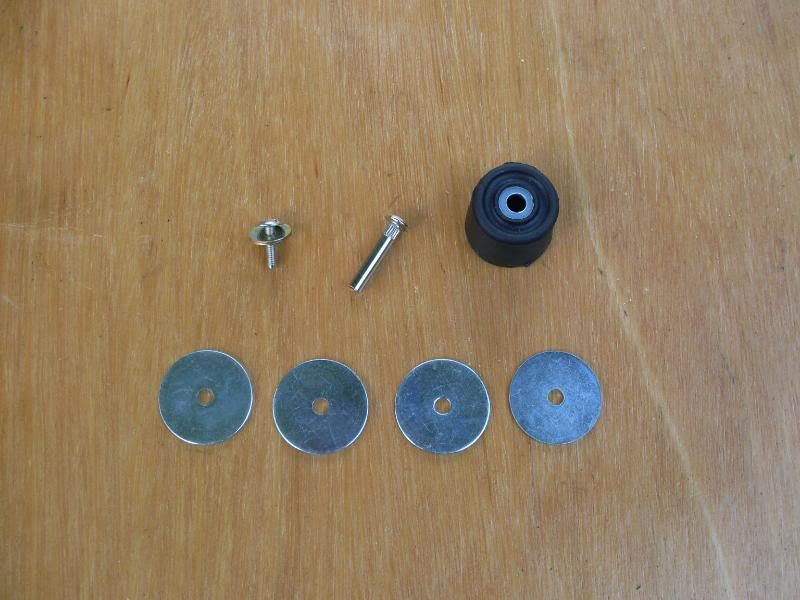
Whilst the boards would be screwed onto the raised beams in the footwell, they also needed to have a support in the deep part. So I came up with a door stop, some repair washers as spacers and bolted these to the boards using one of those two piece bolts that are used to join kitchen units together:


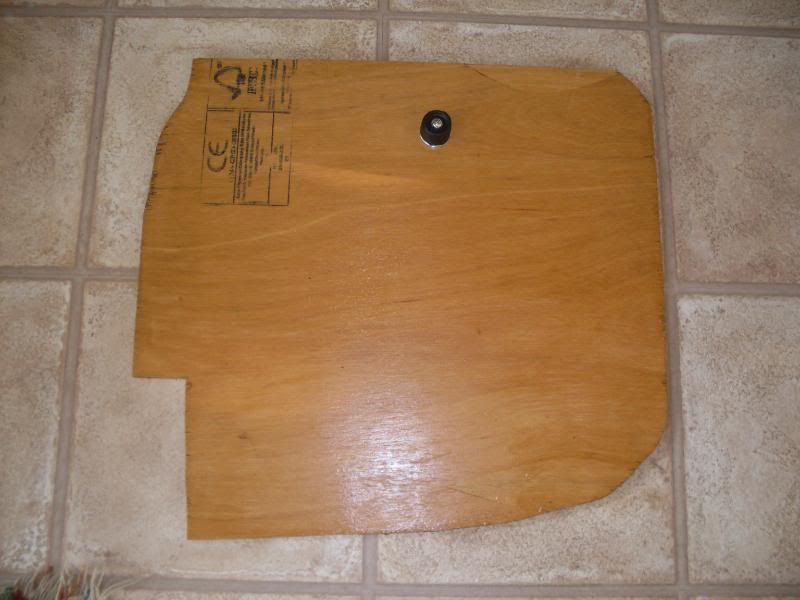
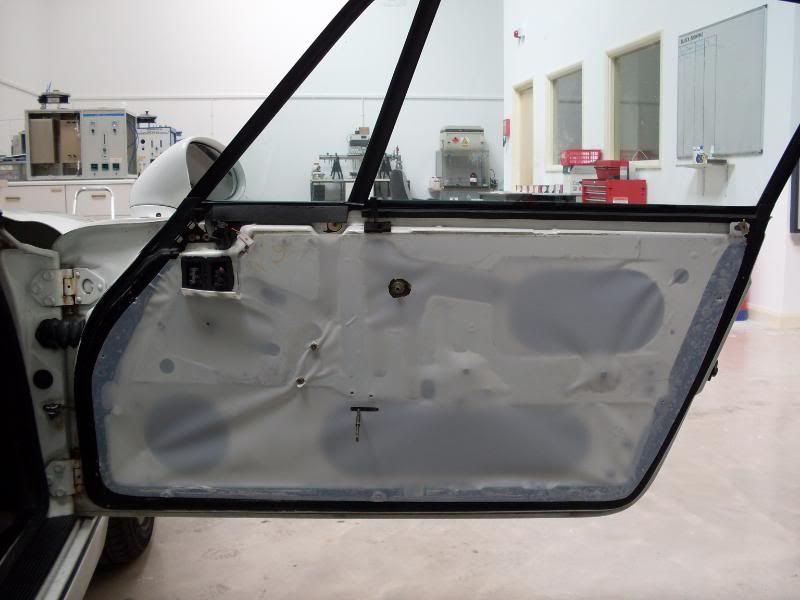
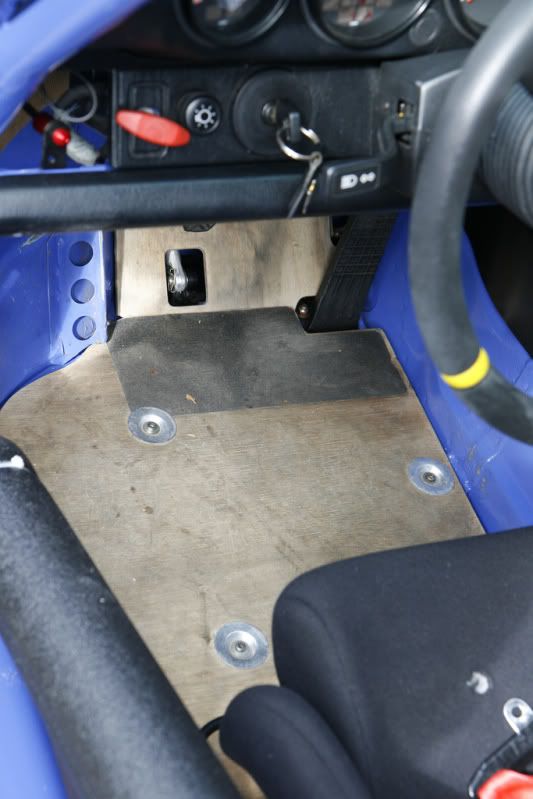
To fit the boards I simply unscrewed the press stud (you can see it just forward of the seat) and then drilled another hole in that same floor beam nearer the pedal box. Then I just used a couple of self-tapping screws and washers to fix the boards in place. Nb. The door stop was located on each board so that it settled on the slightly raised part of the floor (again see pic below).


Passenger floor board fitted:
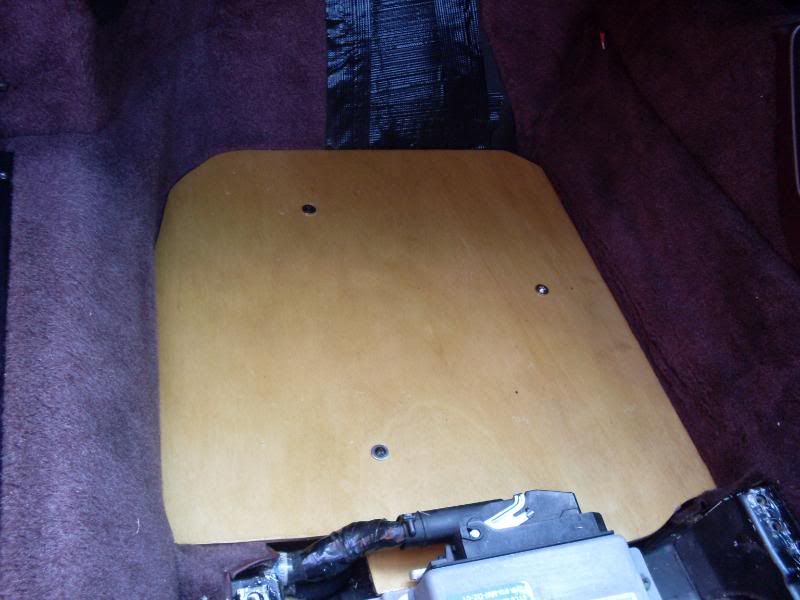


Driver's side:


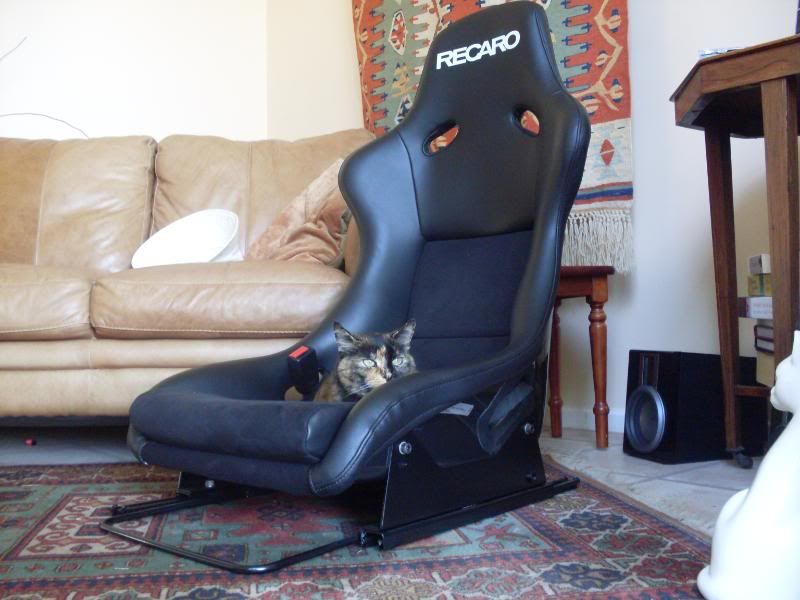
Here's my new co-driver checking out one of the seats while it was out of the car!


Of course, it's possible to buy even lighter ready made floor boards (Rennline make them) but since they're optimized for LHD cars, I wasn't sure if they would fit my RHD car. Besides which, the total cost of making my own was less than 20 quid.

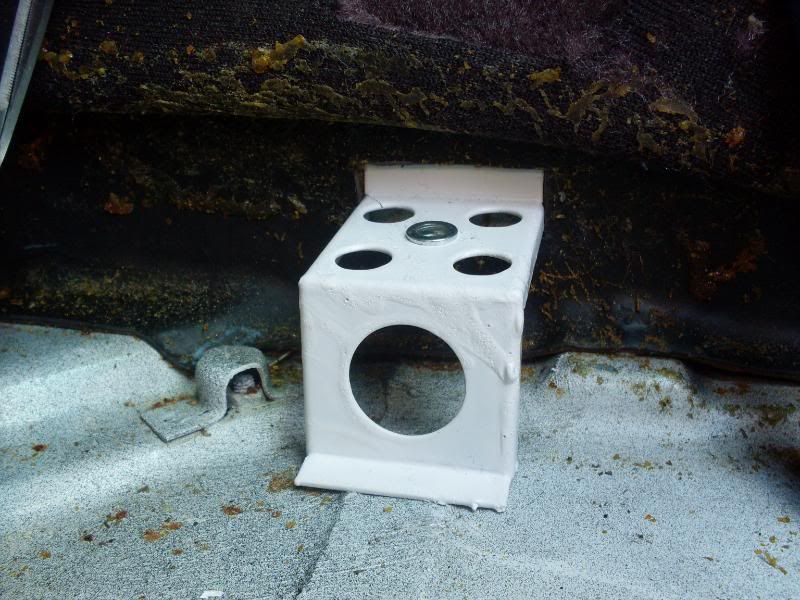
The floorboards generated a lot of interest on the 964 Rennlist forum which lead to one of the guys (Thomas from Sweden) sorting out some replica cup car brackets (to replace the doorstop foot) and washers. So I subseqently (Mar 2011) modified the boards to use these instead:

I decided to glue my brackets in and because I want to keep the carpets I pulled up the carpet and cut a slot in the sound proofing so that I could glue the bracket to the tunnel:


Here's the driver's side bracket in place, complete with a rivnut installed for it to receive the floor board.


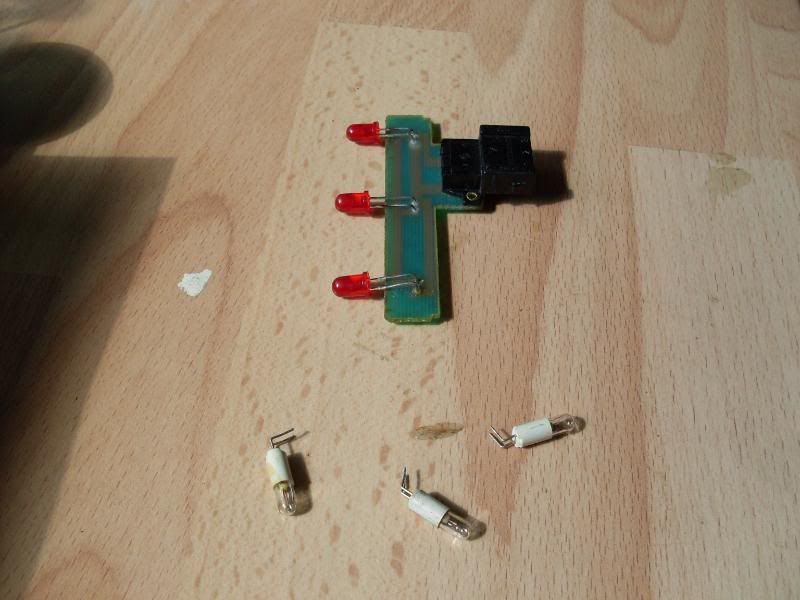
Here's the hand tool used to put the rivnuts (popnuts) in the brackets and the raised floorboard.


And here's how the passenger side board looks with the new washers fastening in place.


Sunday 23 December 2012

Centre Console Lights (Jul 10)

Since I'd been chasing electrical fixes I thought it was time to get the back lighting in the centre console working. It had never lit up since I had the car.

Inside the console there is a plug in board with three low wattage bulbs. These must have expired many moons ago. Porsche recommend a replacement board (no doubt at a ridiculous price) to fix this rather than providing new bulbs. Rather than doing this I copied other peoples' approaches of replacing the tiny filament bulbs with LEDs. So I taught myself how to de-solder the old bulbs and solder in 12V resistor LEDs in their place:


So now I have little glowing symbols on the console at night:


Saturday 22 December 2012

Fuel pump cover and doors (Jul 10)

Replacing the fuel pump cover was always one of those little jobs I'd aimed to get around to. It's one of those items you notice when you jack the car up and think, that's very rusty and I should change it. So I finally did! This pic shows the old one removed and the new one ready to go on:


Next up was to try and solve the intermittent central locking problem that had gradually got worse over the last twelve months or so. It had got to the point that I had to use the key to lock/unlock. On consulting some other 964 owners the general consensus was that it would be caused by the door lock actuators or micro-switches in the handles. So everything was stripped down cleaned, tested and replaced:

One of the actuators:


A dirty door handle after removing:


Handle with microswitch removed for cleaning:


While I was at it I thought it was best to change the door membranes. The pic below shows how they had been butchered and re-taped up many times.


New membranes in their packaging (nb. the roll at the bottom is a rip off version sold on ebay which turned out to be of no use at all) and one in the process of being fitted:


After sorting out the doors, the central locking problem remained. In the end I found that the problem was a faulty central locking relay (old one below) which when changed, cured the issue.


Saturday 3 November 2012

New windscreen wiper arms (Jul 10)

With all the exciting stuff finished it was time to attend to a few mundane jobs.

First up was to change the 964's almost useless wiper arms....I think they're designed to slow you down to 30 mph when it's raining because you can't see!

At the end of the model line Porsche replaced the weedy single sprint wiper arms with more beefy double spring versions. Here's one old and one new fitted:


Pic showing the two springs on the new one and single spring on the old one:


They look a bit more meaty now and should do a better job clearing the water away


The pictures above show that I initially fitted Bosch wiper blades. These turned out to be very poor so I changed them to Porsche original. The latter are much more delicate and for that reason fit and clear the screen better.


First trackday after rebuild (Jun 10)

By the middle of May I'd done the required 1,000 miles running in (nothing over 4,500 rpm) and it was back to Unit 11 to have a check over, the valves adjusted and the thin mineral oil replaced with Mobil 15W-50 Mobil motorsport oil. I could then drive it as intended and see what difference the rebuild had made.

June arrived soon and it was time to test it out at at Oulton Park.


The engine performed flawlessly, although I can say that I didn't push it too hard on its first time out. At this stage I didn't really think that the engine felt like it had any more 'go' than it did before the rebuild.

This was also the first time I got to noise test it with the cat bypass fitted. We had a concern that it could be too loud if the secondary bypass (cup pipe) was also left on so the normal secondary silencer was fitted instead. As it happens the reading was only 98 db which means it should have no problems at any track.

At the end of the day I was getting some brake judder which was most likely due to uneven pad deposits on the disks. I think this might have been caused by the disks getting a bit on the thin side (they're all 3 years old now) and getting hotter than normal so I'll be putting new discs/pads on before the next trackday in late July.

Tuesday 30 October 2012

Engine Rebuild - Final Part (Mar 10)

By the end of March 2010 the engine was back in where it belongs:


A much tidier, cleaner engine bay. The aftermarket air con pump is gone and its retaining bracket cut down. The rest of the piping to the front and the air con rad has been taken out which has removed 28 Kg from the car.


The gear box was cleaned up, leaking shaft selector seal changed, new clutch slave, hose and hard line fitted.


After a 30 mile test drive the bottom of the engine is looking dry:


Waiting on the ramp for final checks and some wax oiling before I picked it up the next week:


Here's the complete list of what I had done:

Full top and bottom engine rebuild that includes all seals and fluids, cam chains, valve guides, piston rings, cylinder (dialever) studs, oil through pipes and main bearings.

Other new parts fitted were:

Camshafts
Valve springs
Top hats and retainers
Little end bearings
A new rocker
Engine temperature sensor
Starter motor
Gearbox shaft selector seal
Flexible heater hoses for heat exchangers
Power steering feed pipe
Power steering pump belt
Crankcase breather pipe
Clutch slave, hose and hard line
Oil feed hose and pipe
Flywheel and clutch bolts
Engine cowell
Valve shims
Cat bypass pipe
Various inserts machined into covers and cases
Powder coating of tins, valve covers, engine carrier and fan
Rubber intake stacks
Distributor caps
Chain guides

A very thorough overhaul that should serve her well for many years to come!

Engine Rebuild - Part 4 (Mar 10)

Pic from underneath (a nice touch is that they've split the heat exchangers and replaced the aging gasket and bolts that had turned to rusty blobs):


From the top (tins now look new courtesy of powder coating and new inlet chambers are being fitted):


Pic showing the shiny new oil return tubes:


My lower aluminum billet valve covers which have been skimmed to stop them leaking:


Upper valve covers have been powder coated grey:


So has the fan:


Box of new bits still waiting to be fitted: