In late 2006 my passion for Porsche that had been kindled by owning a boxster lead me to search for a 911. In February 2007 I found a lovely, well used 964 carrera 2 coupe in GP white and embarked on a new adventure. This running report is about my 964 that would be used for high days, holidays and track days and be a 'project car'. It wouldn't matter if it spent time waiting for things to be fixed as it wouldn't be used as a daily driver.

Sunday 23 October 2011

Engine Rebuild - Part 3 (Mar 10)

About 2 weeks after tear down had finished the rebuild with cleaned, re-conditioned and new parts began.

The pistons and cylinders, even with 170,000 miles on them were still well within tolerance so had been cleaned and polished. The pistons also received new rings of course:


The conrods received new little end bearings because the originals were well worn:


Each cylinder head and valve was de-coked, the valves re-seated and new valve guides fitted:


The crank was polished at the machine shop:


The valve was reworked, oil ways checked and new studs (with inserts where necessary) fitted:


Lots of new parts that include crank shell bearings, a full set of seals/gaskets, oil through pipes and the all important (and very expensive) uprated dialever studs that bolt the main casing, cylinders and heads together:


A cleaned case ready for reasembly:


The rest of the car waits in the corner of the workshop under cover:


Saturday 8 October 2011

Engine Rebuild - Part 2 (Feb 09)

Pictures of the disassembled engine:


Then it was a case of de-coking, cleaning, polishing and re-assembling. The good tins (unlike the one above) and new tins went off for blast cleaning and powder coating.

Friday 7 October 2011

Engine Rebuild - Part 1 (Feb 10)

Although I like to work on the car myself, I'm no where near enough competent (or have the facilities) to do this myself. Hence, on Monday it went into Unit 11, Warrington for Danny and Jonny to tear down. The car had multiple small leaks in all the usual places that an aging 964 engine has (timing chain covers, power steering pump, crank case nose seal, cylinder base gaskets, etc) and some leaks from breather pipes around the inlet. Therefore, I elected to go for their menu rebuild as a starting point. This includes addressing all these leaks, fitting new oil through pipes, new valve guides, de-coking the valves and cylinder heads, new piston rings, new timing chains and tensioners.

Of course, lots of other stuff crops up once the engine is out, particularly engine tins that need to be replaced or blasted and powder coated and breather hoses that have hardened and need to be replaced. Ideally, I want to have a LWF and clutch fitted but that will depend on how heavy the main bill gets! Luckily, my current normal DMF and clutch has been found to be in excellent condition and can go back in if the funds run out.

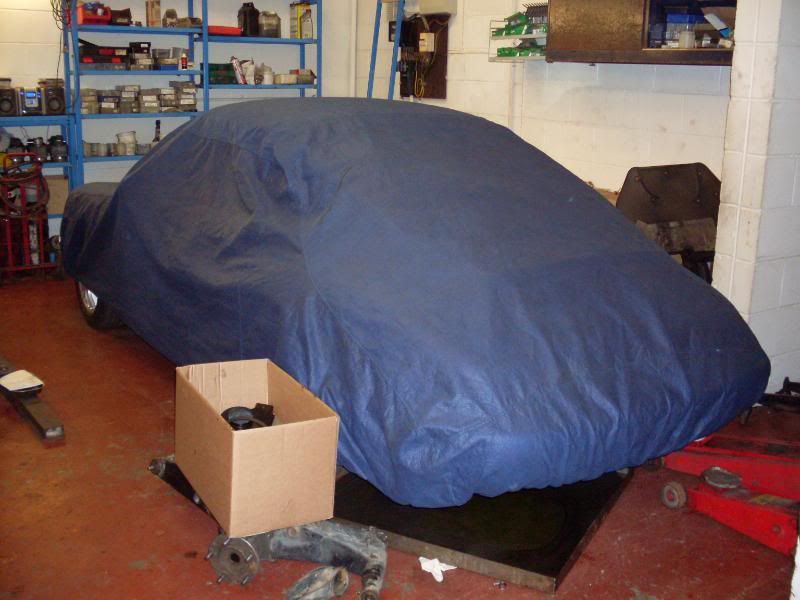
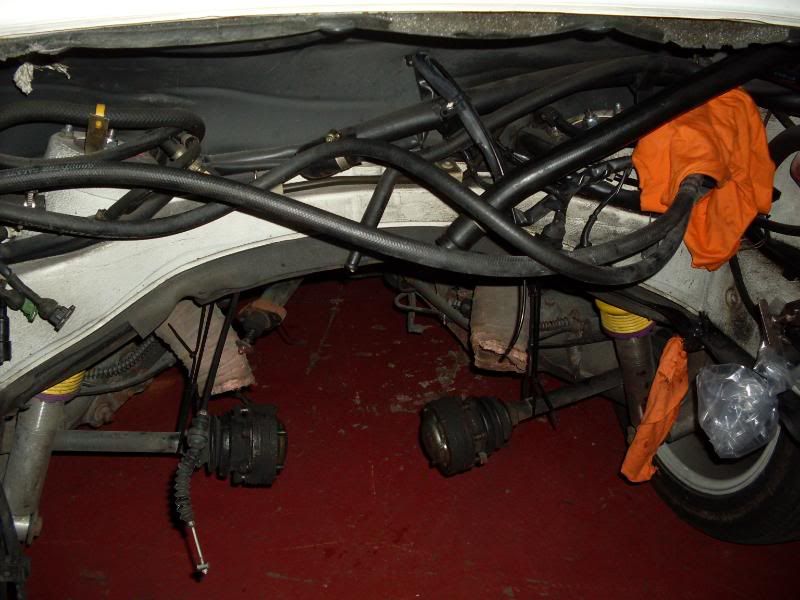
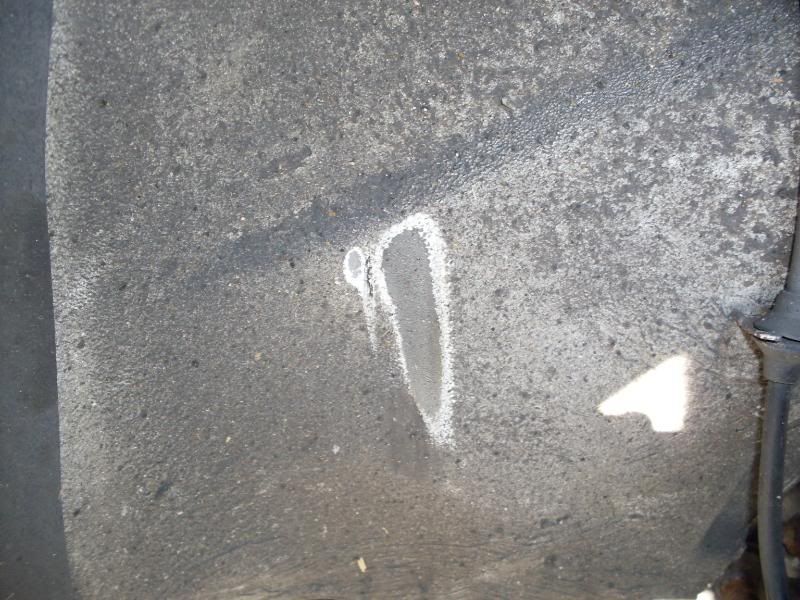
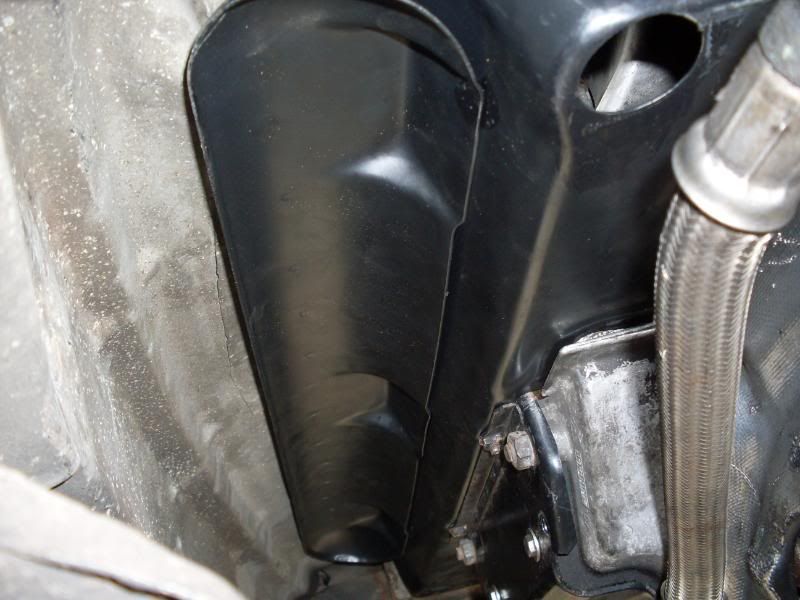
Here's the empty space in my engine bay where the lump used to reside:


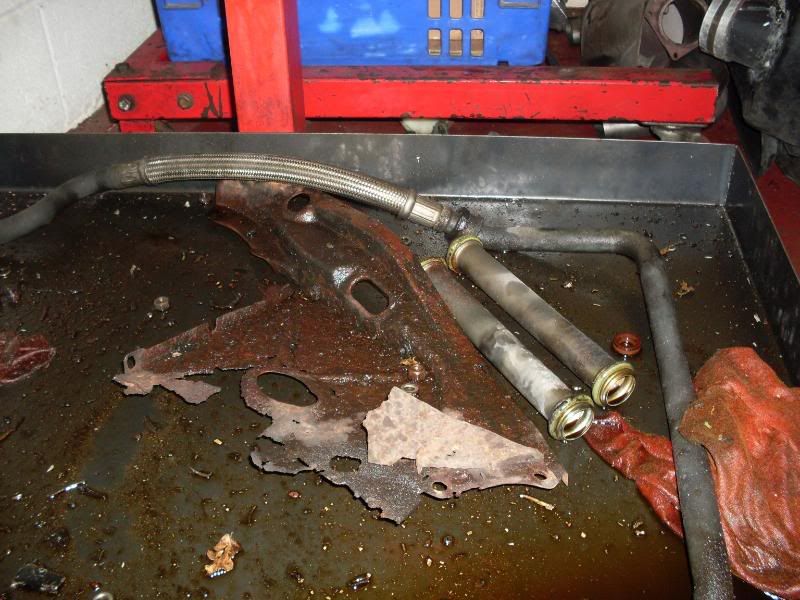
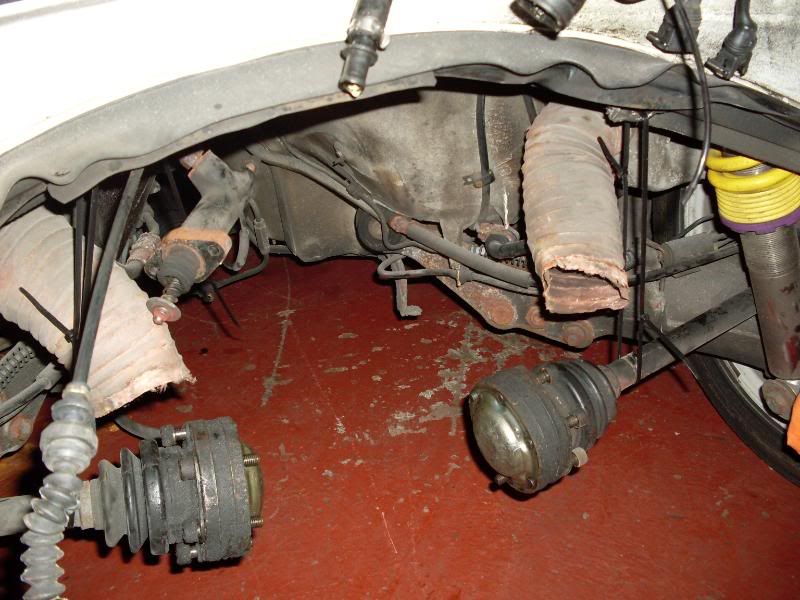
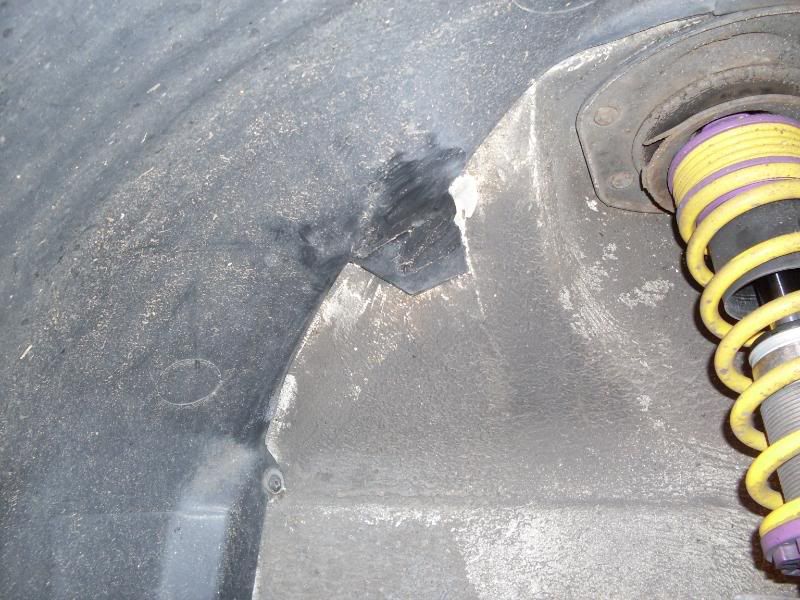
The clutch slave cylinder and hose (left of next picture) has already been identified as needing replacement as has the clutch fork:


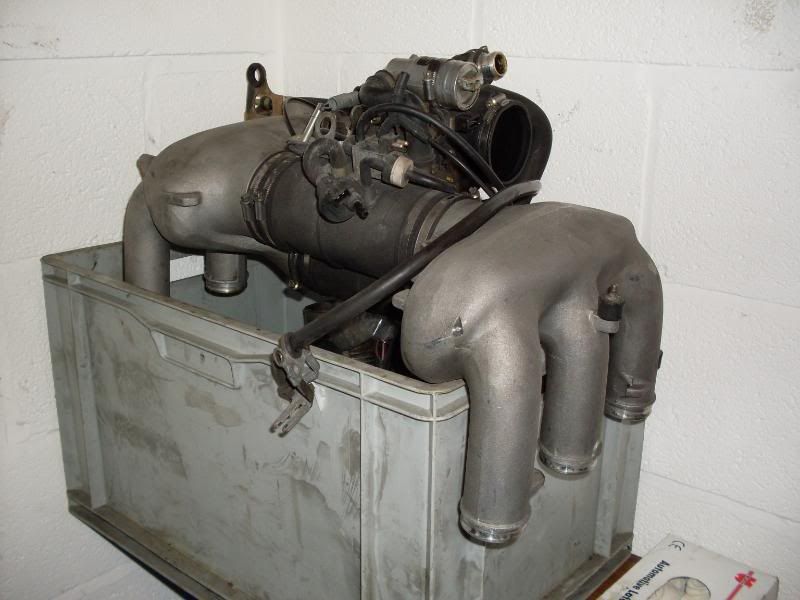
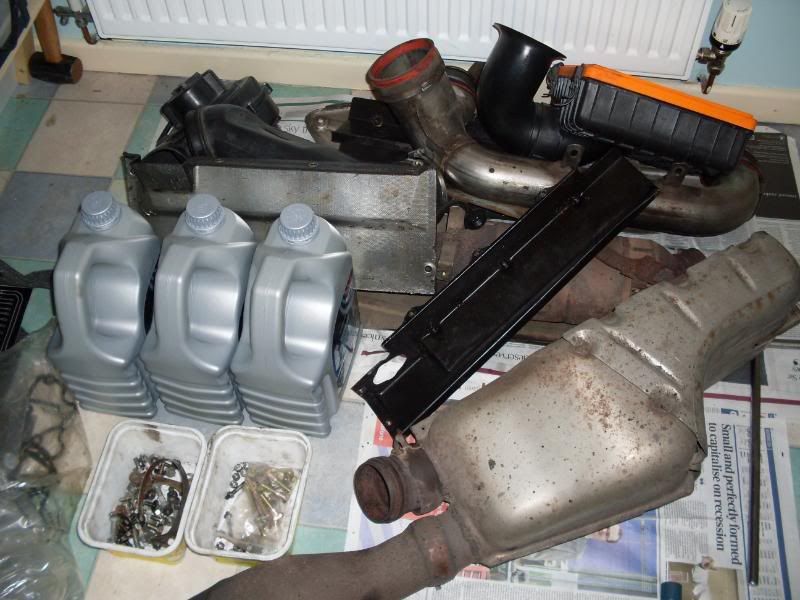
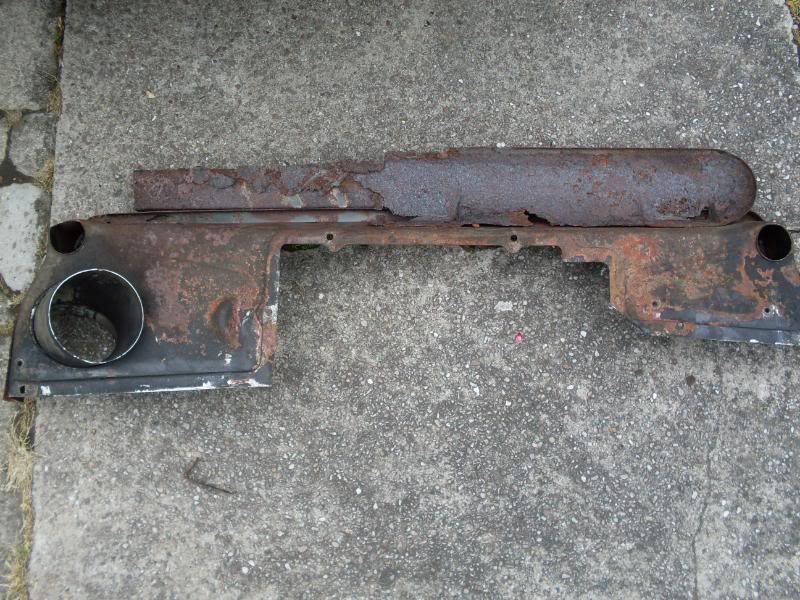
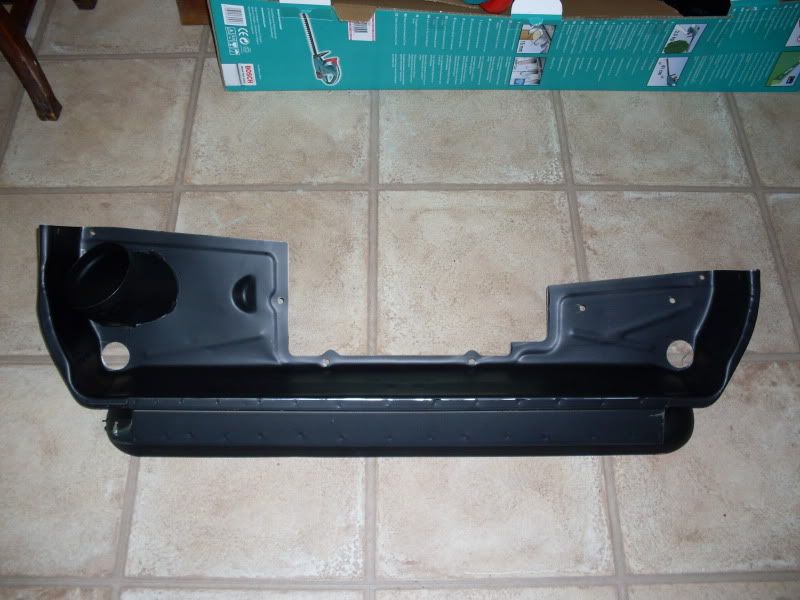
Here's the inlet and engine cowling that has been set to one side. The cowling is oily from leaking breather hoses. It's also split and some point so is going to need replacing:


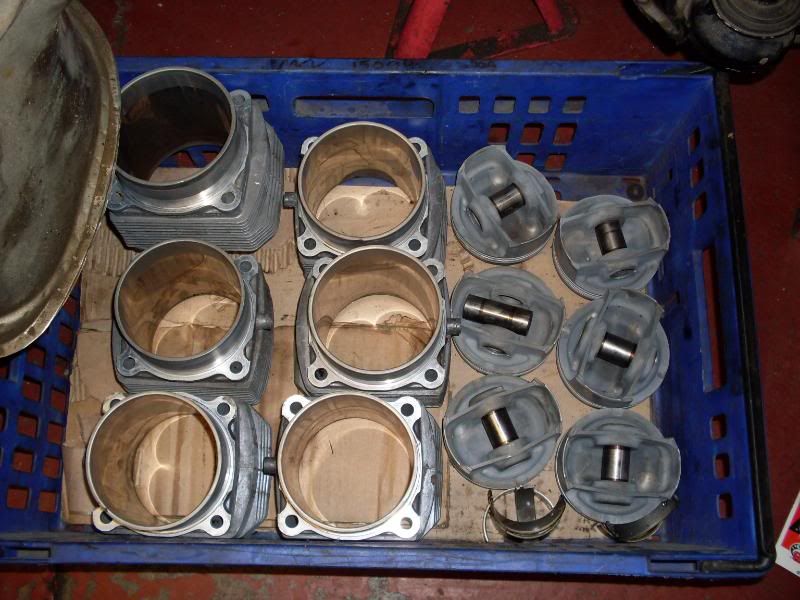
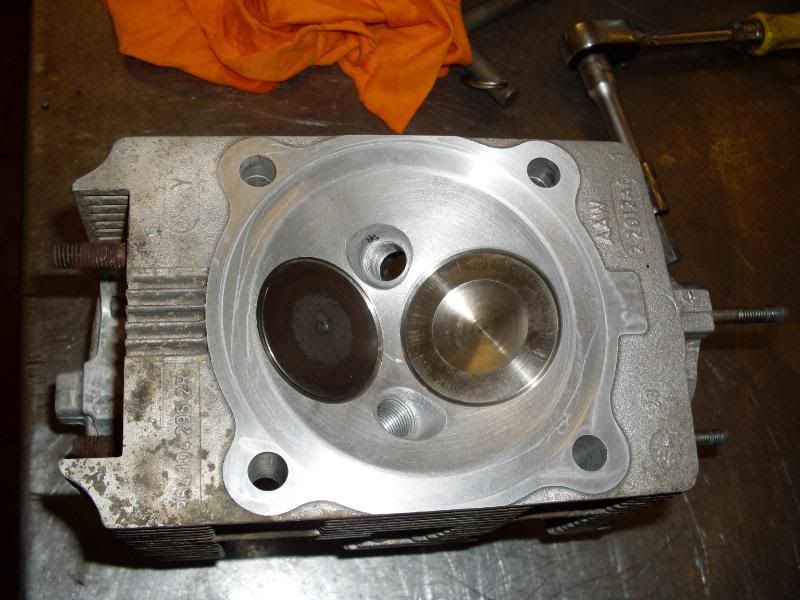
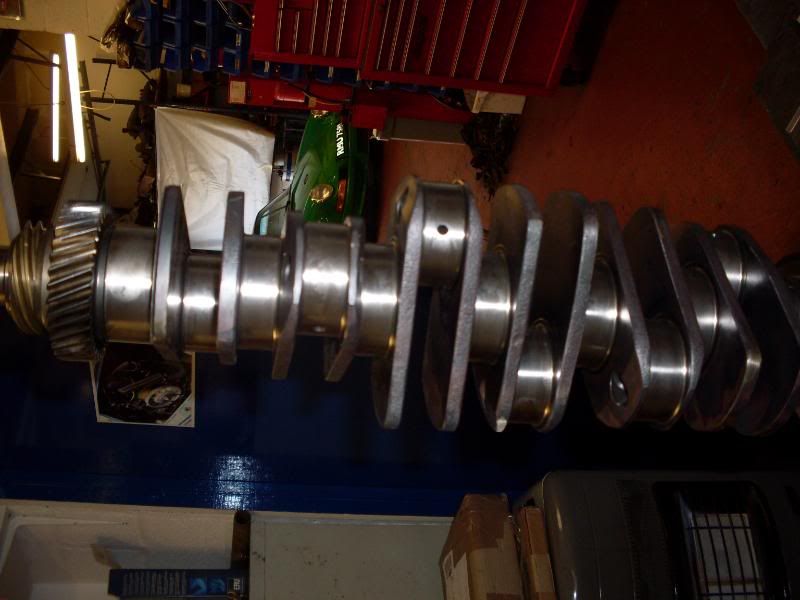
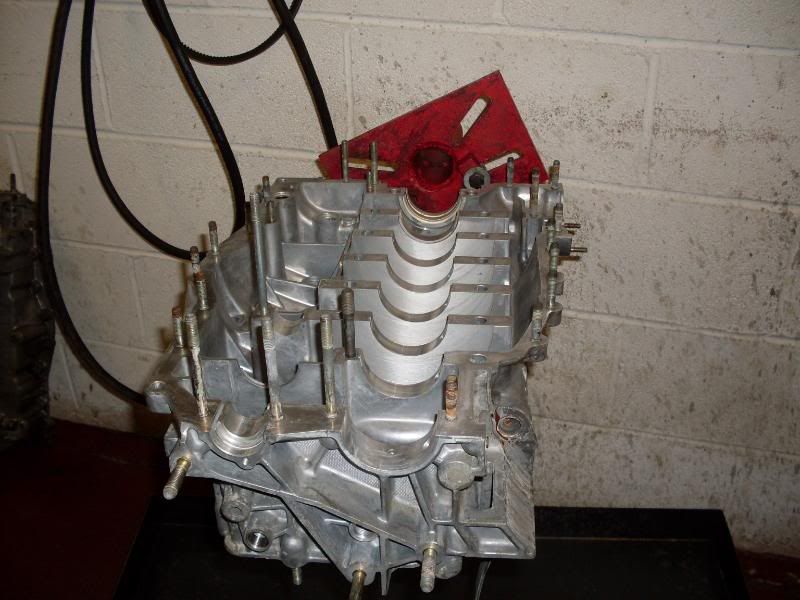
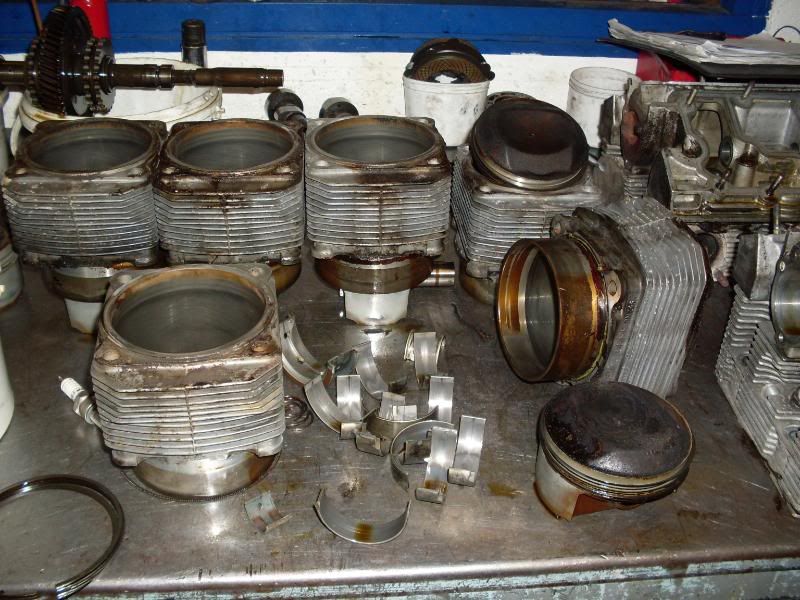
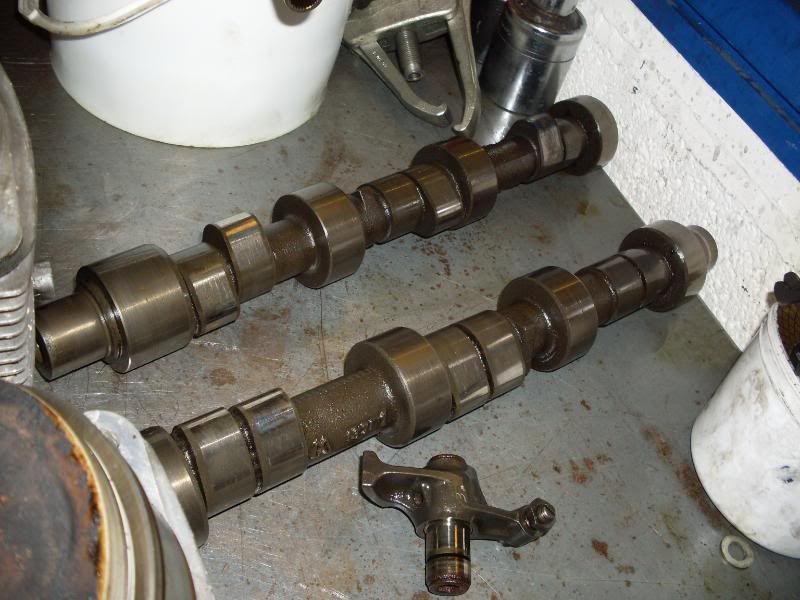
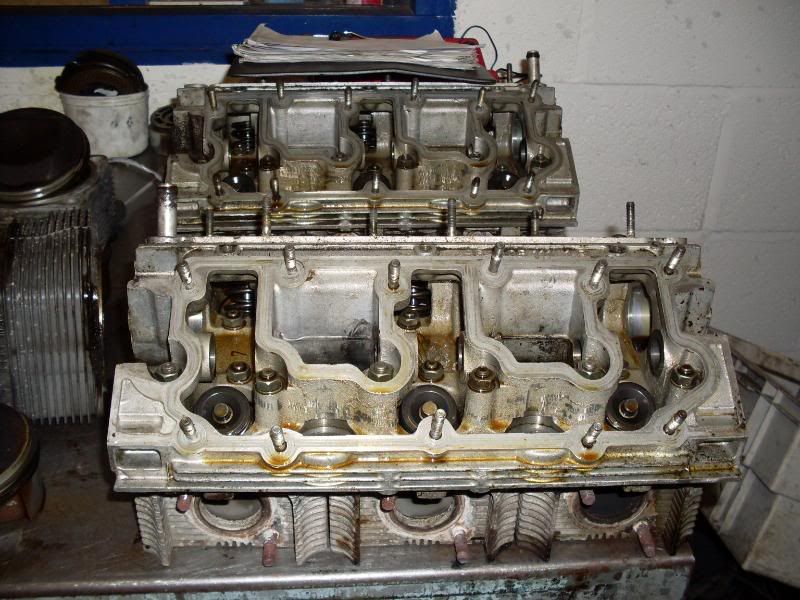
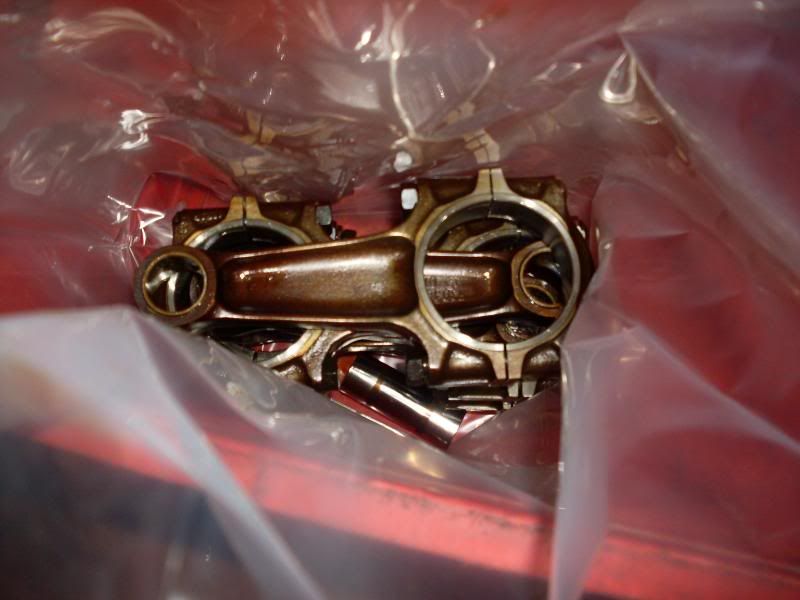
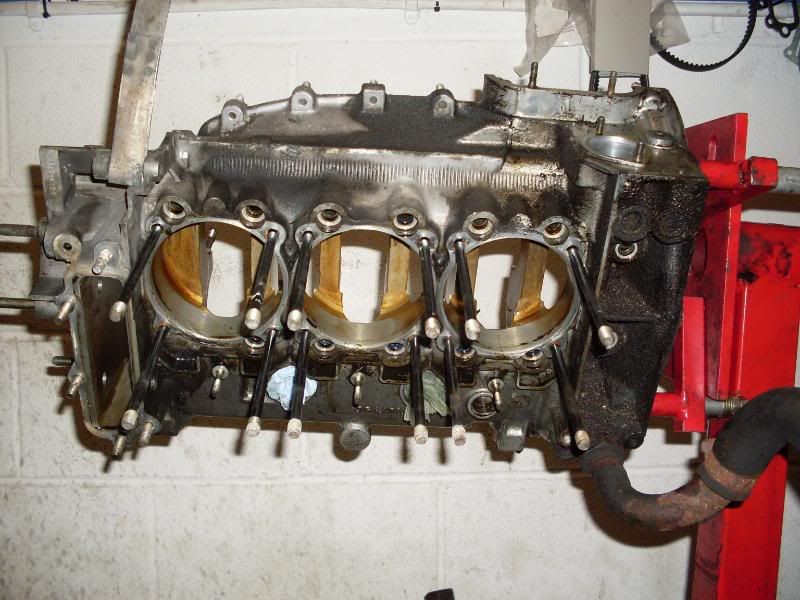
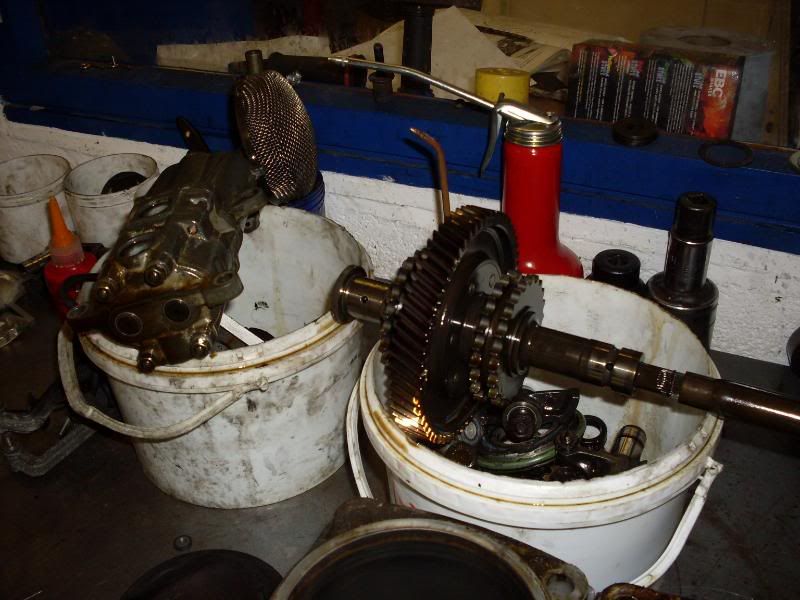
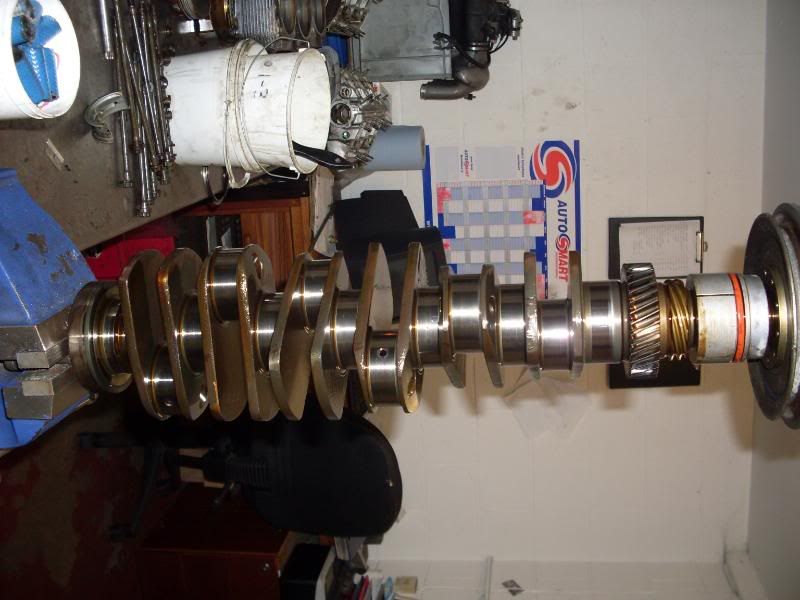
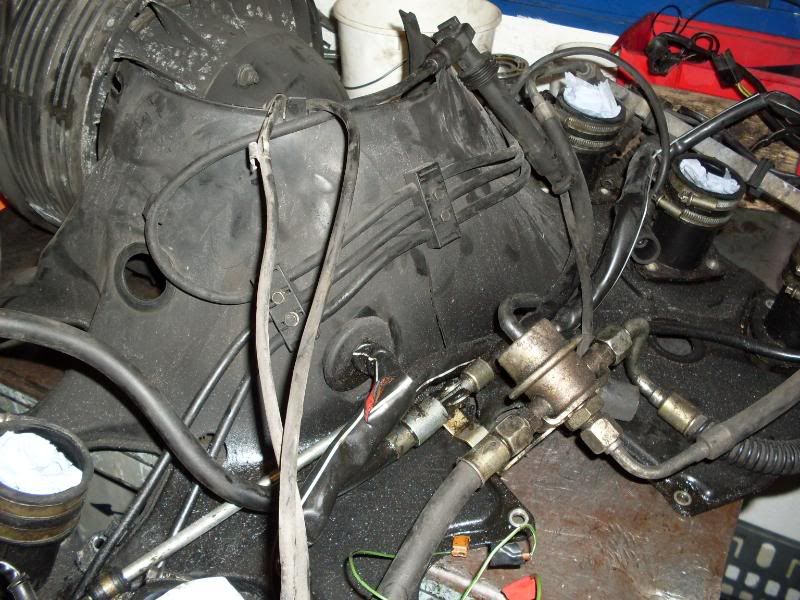
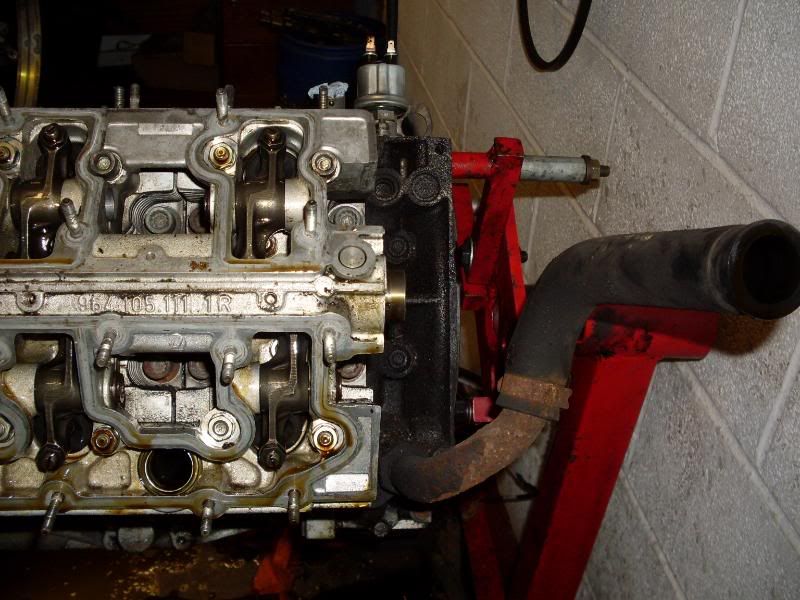
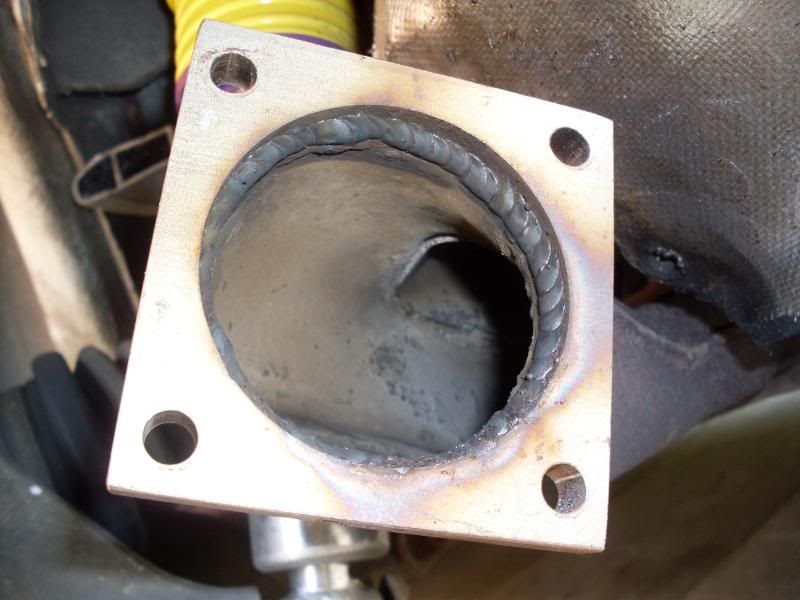
Here are the first pics of the engine as it's being (quite quickly) disassembled. Obviously it's very dirty and oily at this stage:


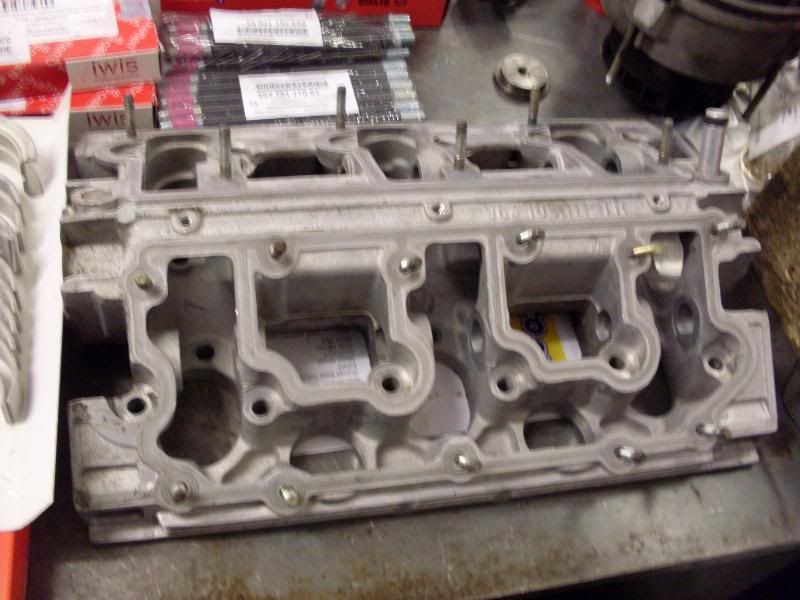
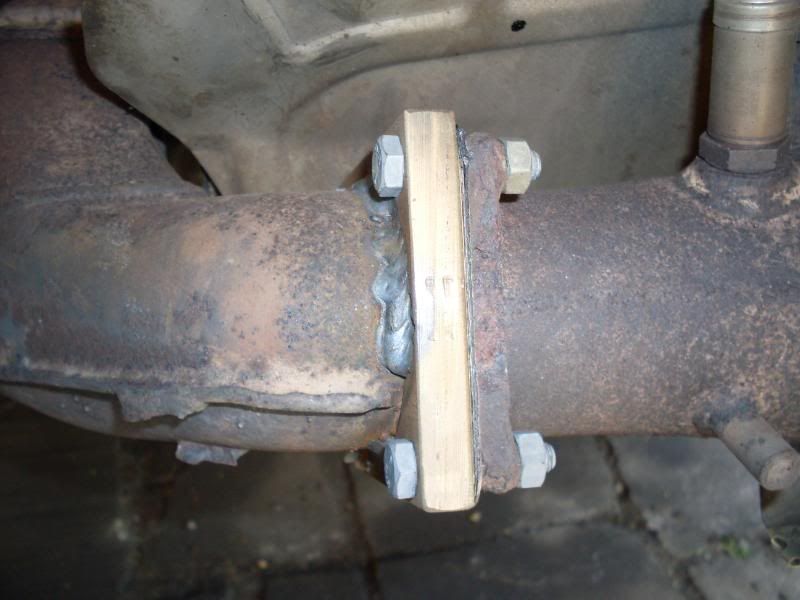
This pic shows the rusty crank case breather hose on the right that will soon be coming off and replaced:


A 'New' set of Road Wheels (Nov 09)

I finally said goodbye to the Cup 1 replicas which were sold on to a friend looking for some and found a good set of 17 inch Sport Classic Boxster wheels. My Continental Sport Contact 2 tyres were duly fitted and mounted to use as by 'best' road wheels. Although not period correct for the car I think they are good look and are both well made and lighter than the old replicas.


A 'New' set of Track Wheels (Sep 09)

I've been thinking about wheels again lately and keeping a keen eye on the usual places they come up for sale. Ideally I want to change the Cup 1 replicas that I use on the road for something smarter. The Cup 1s were badly kerbed when I got the car and are heavy compared to original wheels. Similarly, I wanted to swap the boxster wheels I use for the track for something a bit more in keeping with the car but not overly expensive.

First to come up were the 'track wheels' which I found on ebay just over a week ago. I've now got a set of 17 inch 996 carrera 4 wheels for it for the princely sum of £258!

These are 7 inch wide at the front and 9 inch wide at the rear, with offsets that don't need any spacers. Although not the best looking Porsche wheels in the world, they have a good reputation for being light and strong. Ideal for the track.


With the wheels on at their first outing at Oulton Park:


...and on the move at Curborough:


Saturday 24 September 2011

Two Trackdays and a Round Trip (Sep 09)

So since the DIY service the last couple of months have all been about just using the car for its main purposes - tracking and touring. The trackdays were an evening session at Donington Park and the annual BoXa trackday at Rockingham. At Donington I still hadn't started tinkering with the adjustability of the KW suspension so just spent the session getting to used the more substantial grip that the KWs and Toyos have given the car. What I noticed in particular is that Old hairpin had become a full throttle corner from the apex and this was a major grin factor due to feeling the car moving around underneath me but at the same time feeling under control. Similarly the hairpin on the Melbourne loop could be taking much tighter than I could with the old set up. A 964 owning friend who came for a ride commented on how much more planted my car was on the fast corners compared to his which runs on standard suspension. However, I did notice that at the heavy braking points that the car had developed a trait of feeling quite squirrely at the back end i.e. losing grip and sliding about. So Prior to Rockingham I decided to check the rear rebound settings. This in itself is not a 5 minute job as both air box and the HVAC blower unit in the engine bay have to removed. And then the actual adjustment has to all be done by feel as you can't see what you're doing. I found that the rebound had been set at four clicks from hard so adjusted it to 8 clicks from hard. On the test drive I immediately noticed that the back end was more lively and a lot more responsive to throttle inputs i.e. be too heavy footed and it would step out. However, had this had any effect on the rear braking...well the Rockingham experiences say yes. Again Rockingham has some hard braking points and the back gripped much better because the softer rebound was allowing the shocks to keep the tyres in contact with the track better than when they were set harder. It's amazing what tiny adjustments can do to the balance of the car and even more amazing that given my limited driving skill that I can detect them. On track at Donington mixing it with the RS boys:
The new suspension set up (particularly the low RS ride height) and wider front tyres are now beginning to endow the car with 'trackday scars'. Rubbing inside the wheel arch on lock while cornering hard:
Rubbing on the wheel arch liners due to the lower height, more caster and then braking hard:
While I have to accept some of these as a consequence of the track biased set up, I've just put a pair of 3 mm shims on the front to move the wheels out slightly to see if it will reduced the rub on lock. I don't want to use anything much bigger than these as a] I would have to put longer wheel studs on and b] I might start causing a problem of the tyres fouling the arches:
After Rockingham we decided to take the 964 on a mini break. This involved driving down to Elevetham Hall in Hampshire to meet up with a load of other 964s and then across to Cornwall using a route of A roads. There we stopped a couple of nights and visited the Eden project and the cornish coast before travelling back home via the motorway network. A round trip of 750 miles. Apart from scraping the bottom of the car on a couple of speed humps, the car ran like a dream. I was surprised how comfortable the recaro seats were during long driving stints (the wife agreed). And where ever we stopped the car always attracted attention, particularly by kids who loved it. We even overheard a conversation between locals in the Inn we stopped at which went along the lines of "have you seen that lovely Porsche in the car park.....yes, but it don't half make a noise!". With other 964s at Elvetham Hall:
Resting overnight at the Cornish Inn;

Thursday 15 September 2011

DIY service and another engine tin (Jun 09)

This was a full weekend of graft with a couple of hours off to watch the British GP. The aim was to change the plugs, upper and lower valve cover gaskets, air filter and oil. I had also bought a new rear heat shield to replace the rusting old one. On a 964 this means removing most of the exhaust system and lots of engine covers. Here's the pile of stuff that I had to take off:
Also, when doing these jobs on the car I regularly find missing or corroded nuts and bolts. Until now I've purchased what I needed from the Porsche centre but when I was recently quoted £6 each for captive nuts to go on the cat heat shields, I decided enough was enough. A quick search on the web and ebay revealed lots of alternative, good quality nuts, bolts and clips from automotive suppliers. For the price of half a dozen Porsche captive nuts, I've now got this little lot:
When I fitted the new lower valve covers a few weeks ago, I found that a few of the studs came out of the heads because the nuts had siezed on them so replaced those as necessary this time:
Once the plugs and gaskets had been changed it was time to wrestle out the rear shield. Here's a pic of the old one once it was out:
Here's the new one ready to go in:
And after a few hours of persuasion, the new one finally secured in place:

Got the exhaust repaired (Jun 09)

I'm pleased to report that the exhaust issue has now been remedied. The boys at Unit 11 Warrington got a new flange fabricated which is a few mm thicker than the old one. This allowed them to saw off the old flange and weld on the new so that the same spacing was retained (important to ensure that the cat could be bolted on without stressing the exhaust system). A complete new heat exchanger for that side would have cost £2,000 (and a good used one up to half that). The all in cost from Unit 11 to make and fit the new flange was a tenth of that! Here's the old flange now separated from the car:
The flange was initially tacked on to the outlet of the heat exchanger:
Then the inside was welded to make it gas tight: