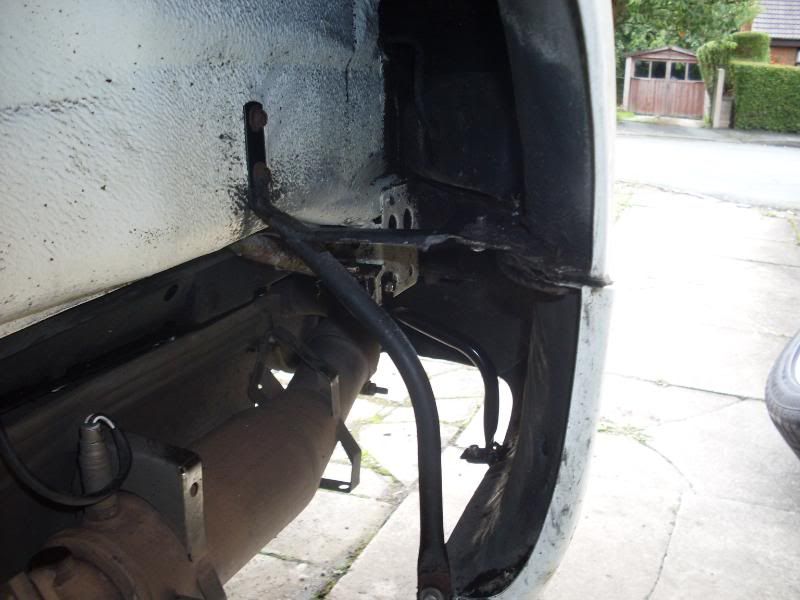
New support tubes ready to go on:

and fitted to the car:
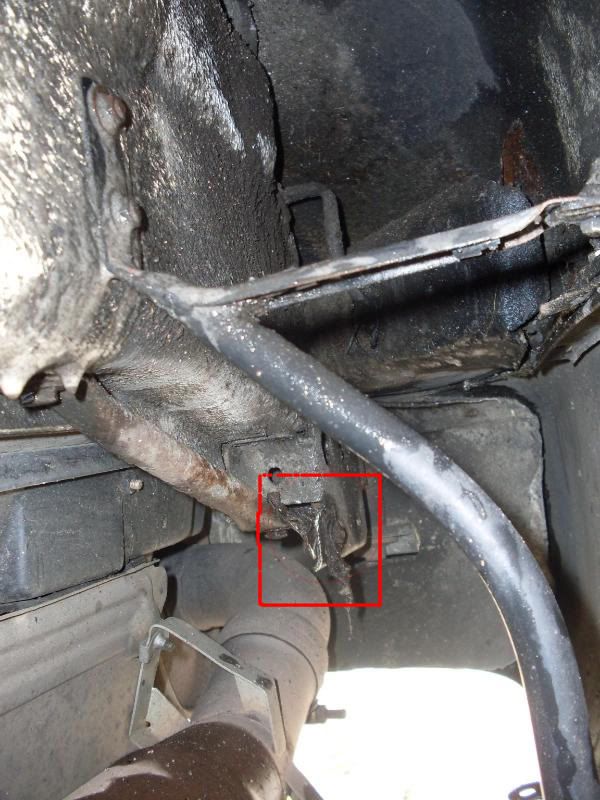
I then decided that while 'I was in there' that I couldn't ignore all that dirt that you can see in the first pic. Here's what the main wheel arch looked like:
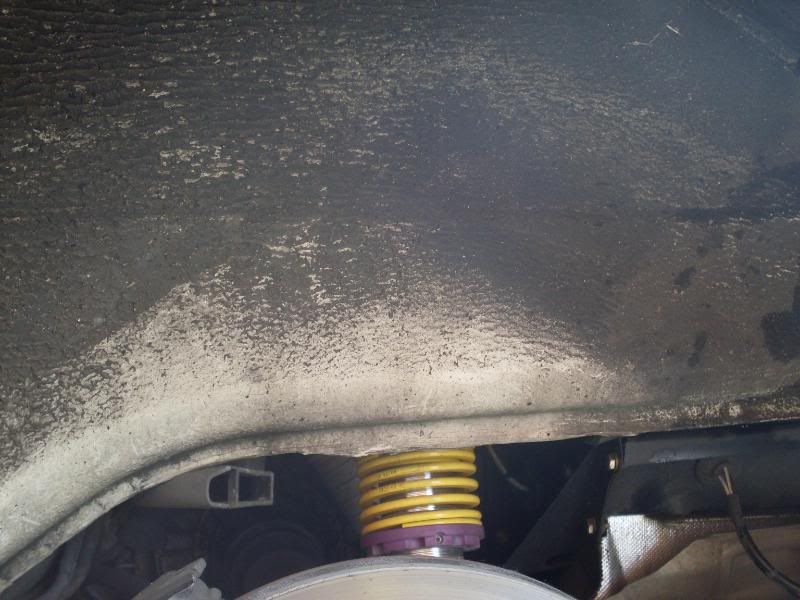
First stage of the cleaning was to loosen the dirt with soapy water. I then attacked it with Swarfega cleaning solution and appropriate elbow grease. Not only did this restore the arch to its former glory but it unearthed the tell tale signs of a previous owner that must have once fitted wheels that were either too wide or had too small an offset.

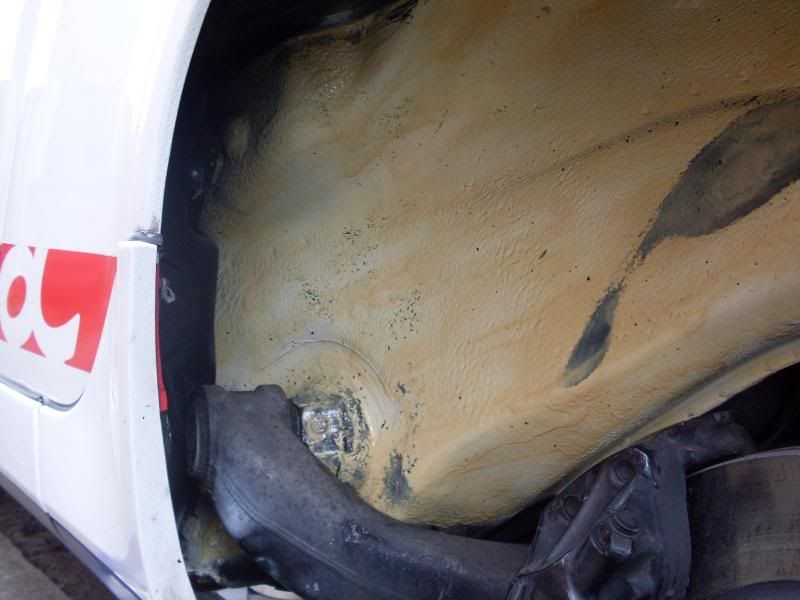
Once it was all dry I gave it a good coating of 'cavity protection wax':
Just got to do the other three corners now!
No comments:
Post a Comment