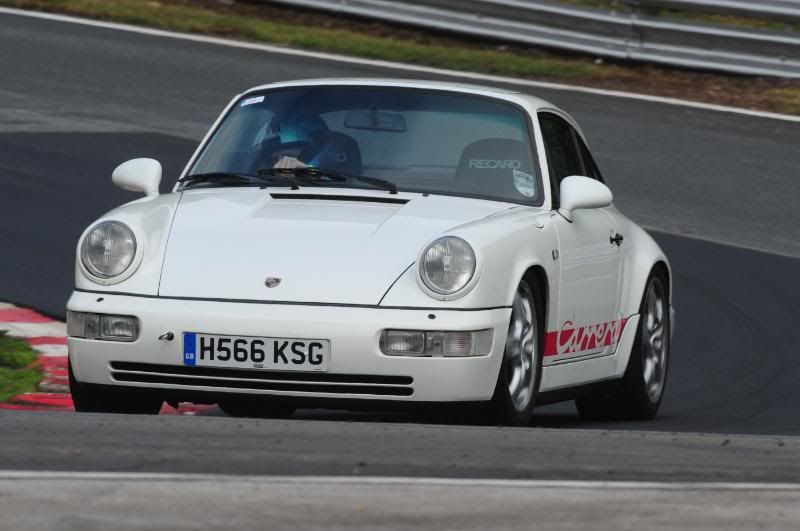
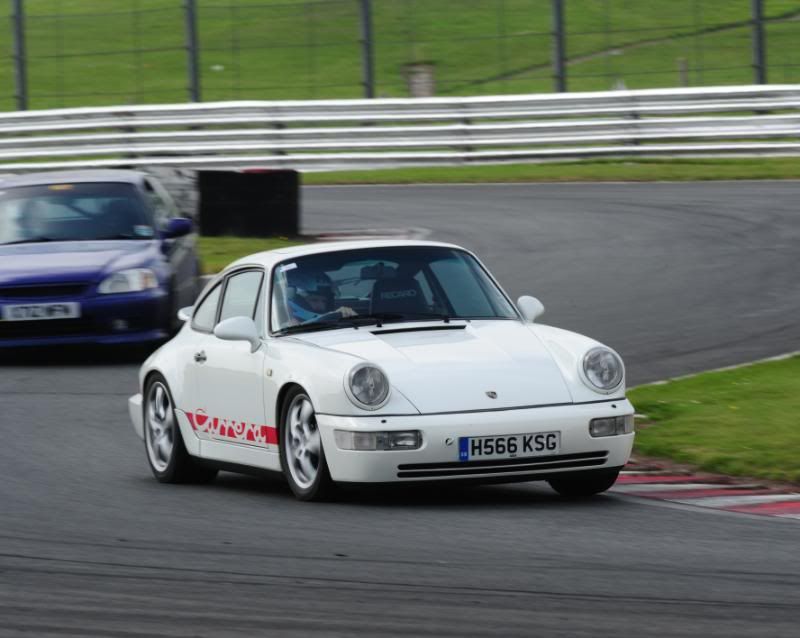
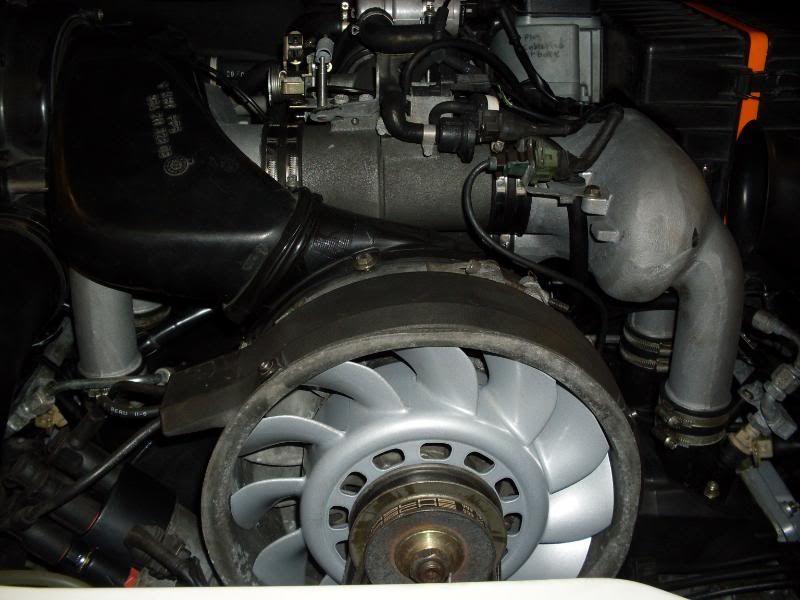
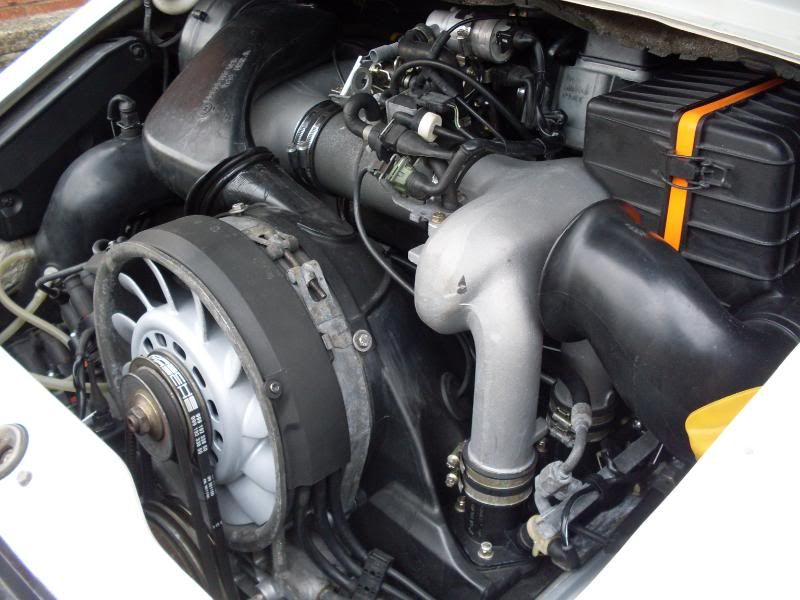
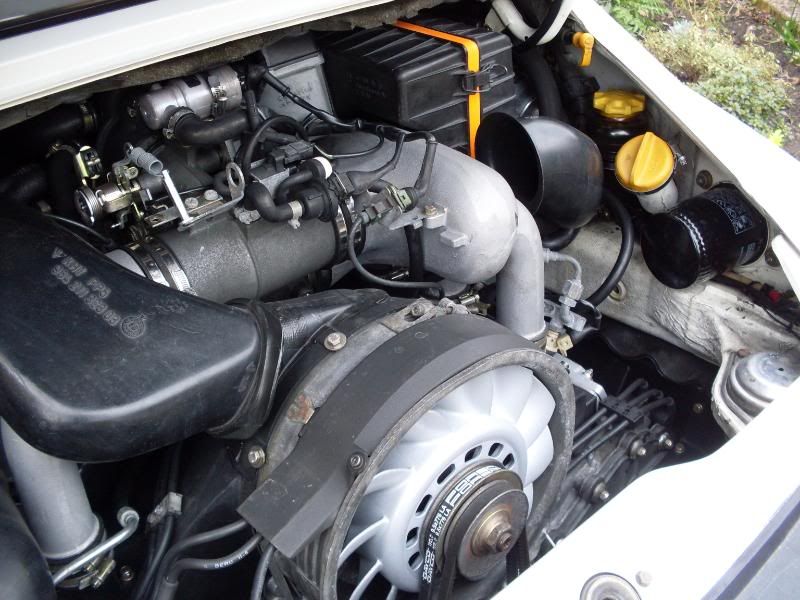
In late 2006 my passion for Porsche that had been kindled by owning a boxster lead me to search for a 911. In February 2007 I found a lovely, well used 964 carrera 2 coupe in GP white and embarked on a new adventure. This running report is about my 964 that would be used for high days, holidays and track days and be a 'project car'. It wouldn't matter if it spent time waiting for things to be fixed as it wouldn't be used as a daily driver.

Saturday, 3 November 2012

New windscreen wiper arms (Jul 10)

With all the exciting stuff finished it was time to attend to a few mundane jobs.

First up was to change the 964's almost useless wiper arms....I think they're designed to slow you down to 30 mph when it's raining because you can't see!

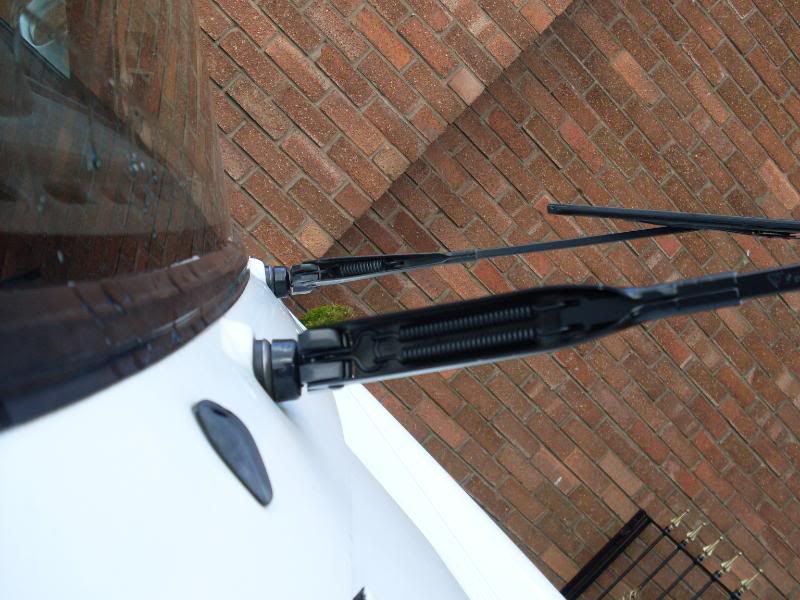
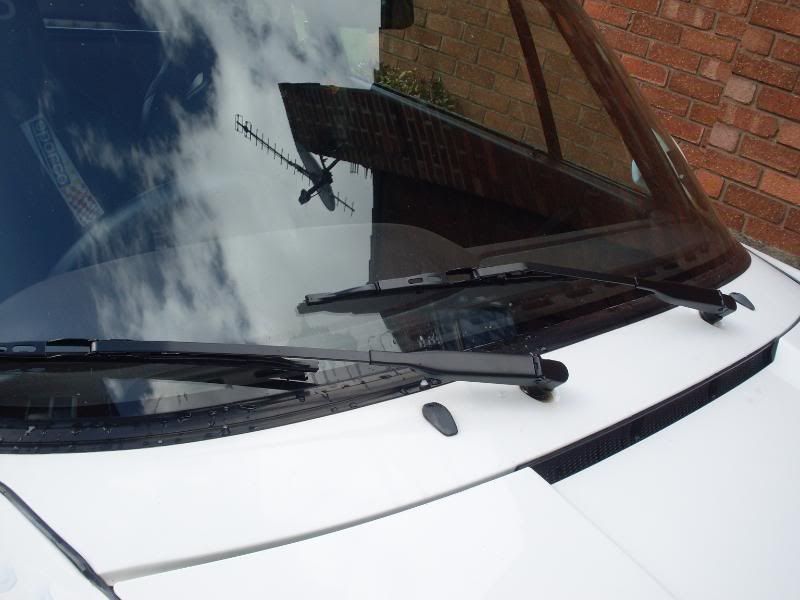
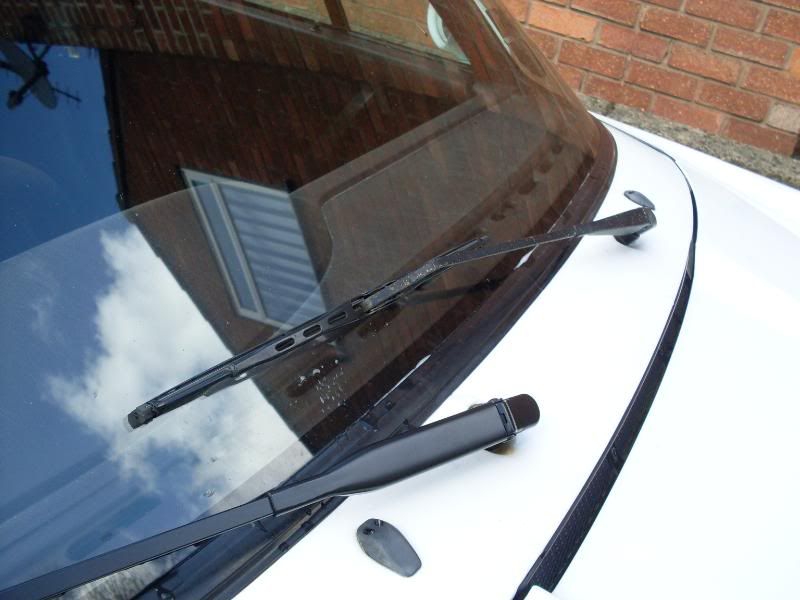
At the end of the model line Porsche replaced the weedy single sprint wiper arms with more beefy double spring versions. Here's one old and one new fitted:


Pic showing the two springs on the new one and single spring on the old one:


They look a bit more meaty now and should do a better job clearing the water away


The pictures above show that I initially fitted Bosch wiper blades. These turned out to be very poor so I changed them to Porsche original. The latter are much more delicate and for that reason fit and clear the screen better.


First trackday after rebuild (Jun 10)

By the middle of May I'd done the required 1,000 miles running in (nothing over 4,500 rpm) and it was back to Unit 11 to have a check over, the valves adjusted and the thin mineral oil replaced with Mobil 15W-50 Mobil motorsport oil. I could then drive it as intended and see what difference the rebuild had made.

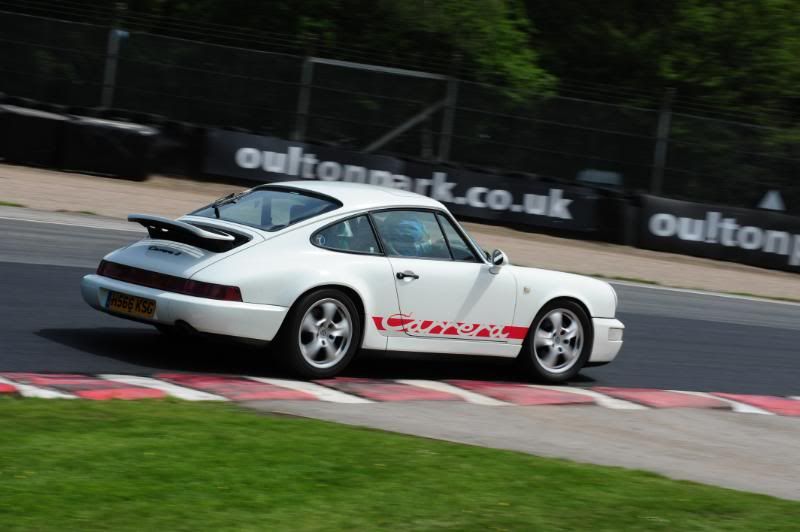
June arrived soon and it was time to test it out at at Oulton Park.


The engine performed flawlessly, although I can say that I didn't push it too hard on its first time out. At this stage I didn't really think that the engine felt like it had any more 'go' than it did before the rebuild.

This was also the first time I got to noise test it with the cat bypass fitted. We had a concern that it could be too loud if the secondary bypass (cup pipe) was also left on so the normal secondary silencer was fitted instead. As it happens the reading was only 98 db which means it should have no problems at any track.

At the end of the day I was getting some brake judder which was most likely due to uneven pad deposits on the disks. I think this might have been caused by the disks getting a bit on the thin side (they're all 3 years old now) and getting hotter than normal so I'll be putting new discs/pads on before the next trackday in late July.

Tuesday, 30 October 2012

Engine Rebuild - Final Part (Mar 10)

By the end of March 2010 the engine was back in where it belongs:


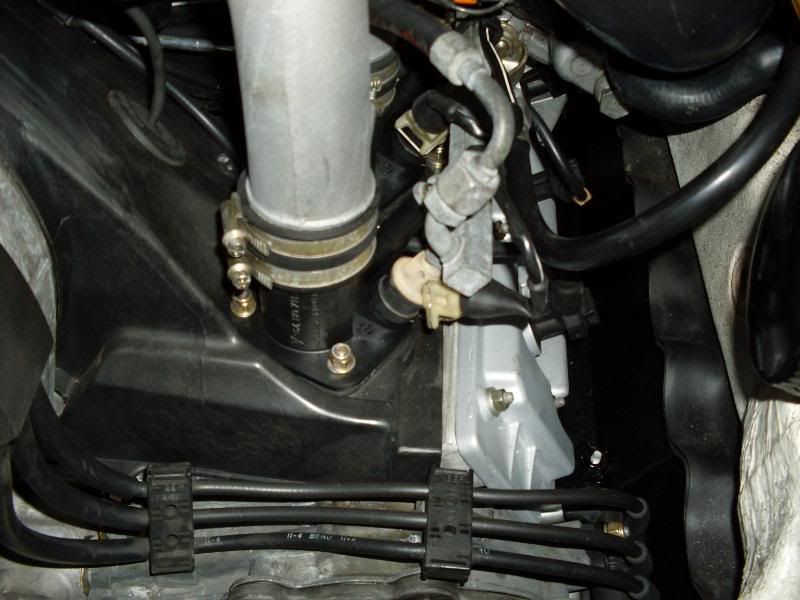
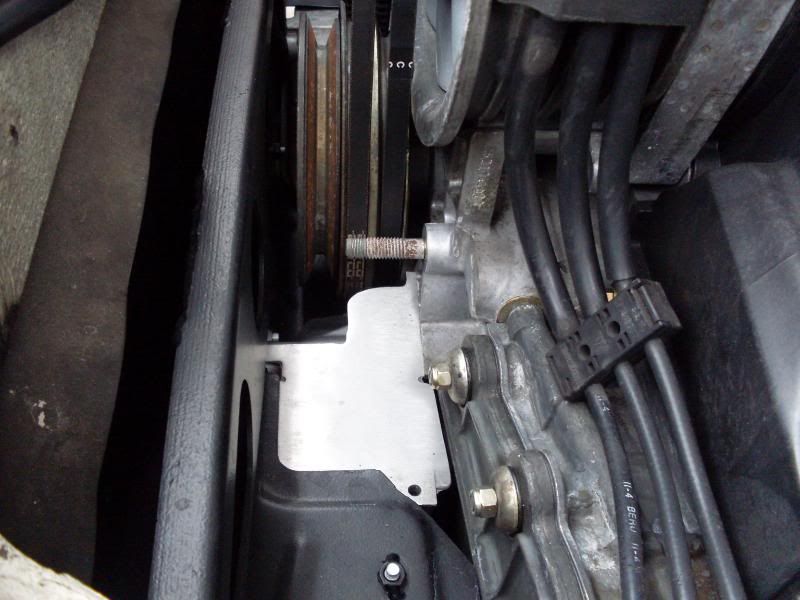
A much tidier, cleaner engine bay. The aftermarket air con pump is gone and its retaining bracket cut down. The rest of the piping to the front and the air con rad has been taken out which has removed 28 Kg from the car.


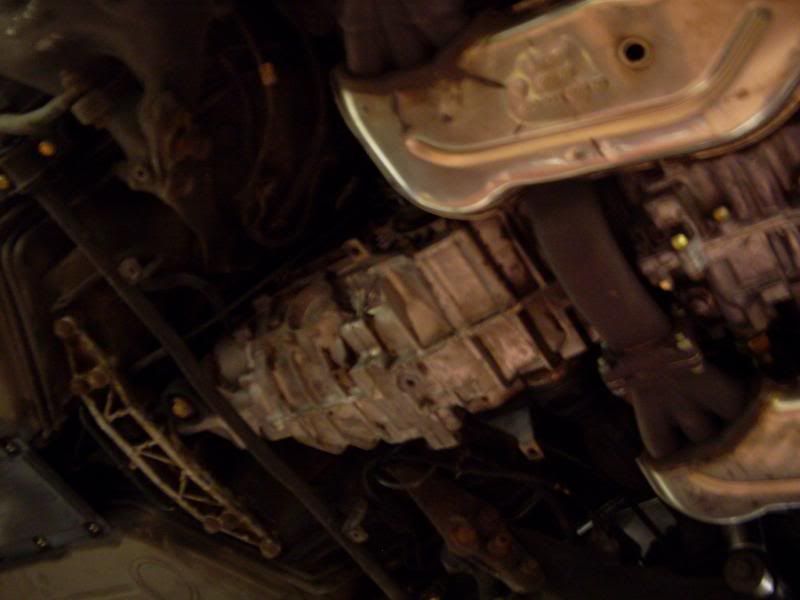
The gear box was cleaned up, leaking shaft selector seal changed, new clutch slave, hose and hard line fitted.


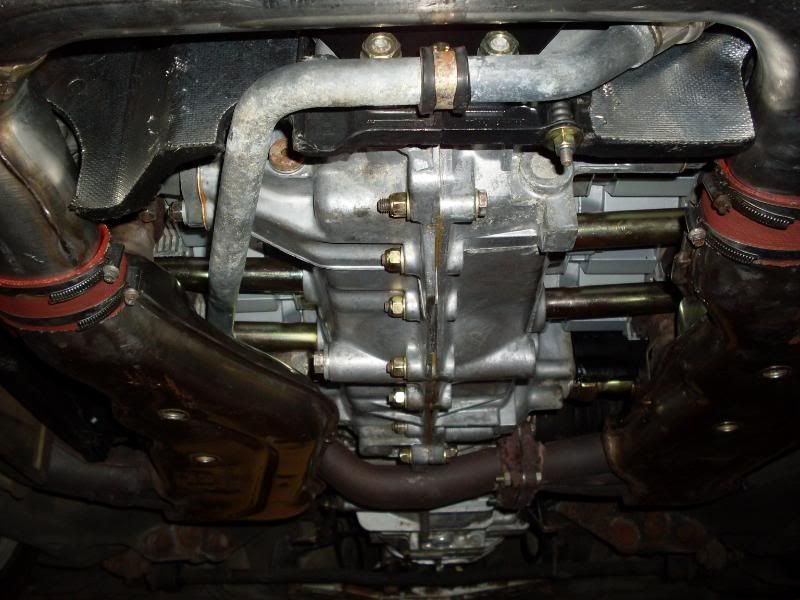
After a 30 mile test drive the bottom of the engine is looking dry:


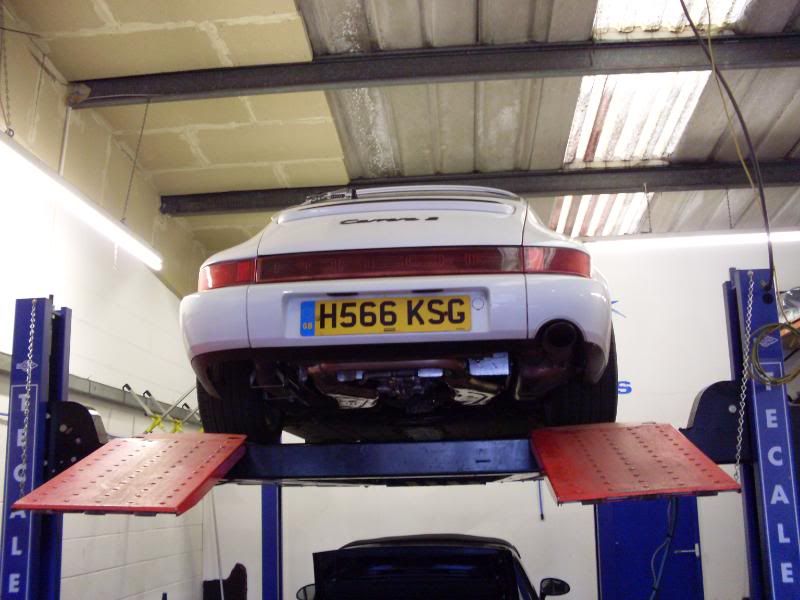
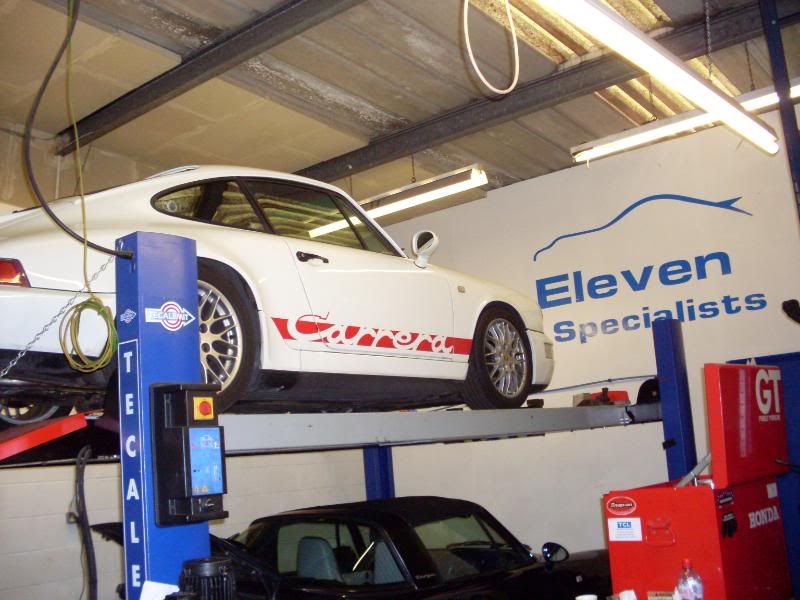
Waiting on the ramp for final checks and some wax oiling before I picked it up the next week:


Here's the complete list of what I had done:

Full top and bottom engine rebuild that includes all seals and fluids, cam chains, valve guides, piston rings, cylinder (dialever) studs, oil through pipes and main bearings.

Other new parts fitted were:

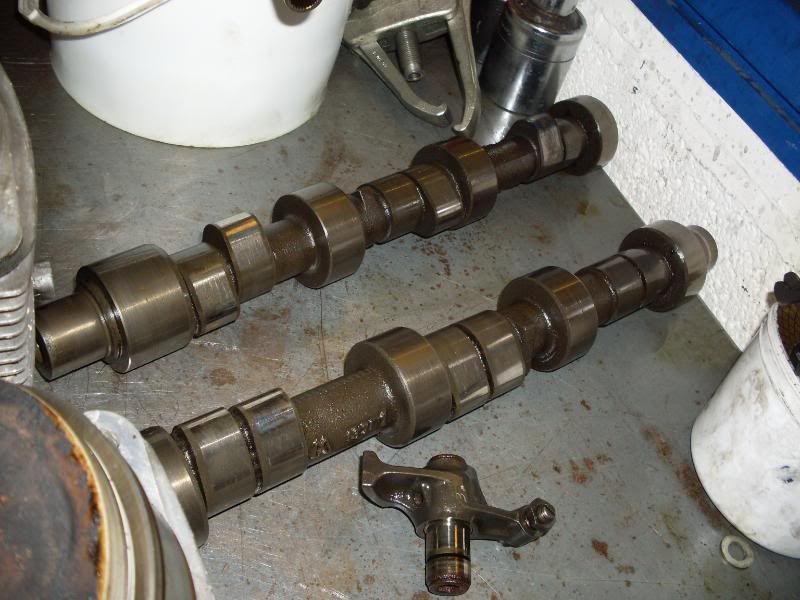
Camshafts
Valve springs
Top hats and retainers
Little end bearings
A new rocker
Engine temperature sensor
Starter motor
Gearbox shaft selector seal
Flexible heater hoses for heat exchangers
Power steering feed pipe
Power steering pump belt
Crankcase breather pipe
Clutch slave, hose and hard line
Oil feed hose and pipe
Flywheel and clutch bolts
Engine cowell
Valve shims
Cat bypass pipe
Various inserts machined into covers and cases
Powder coating of tins, valve covers, engine carrier and fan
Rubber intake stacks
Distributor caps
Chain guides

A very thorough overhaul that should serve her well for many years to come!
Engine Rebuild - Part 4 (Mar 10)

Pic from underneath (a nice touch is that they've split the heat exchangers and replaced the aging gasket and bolts that had turned to rusty blobs):


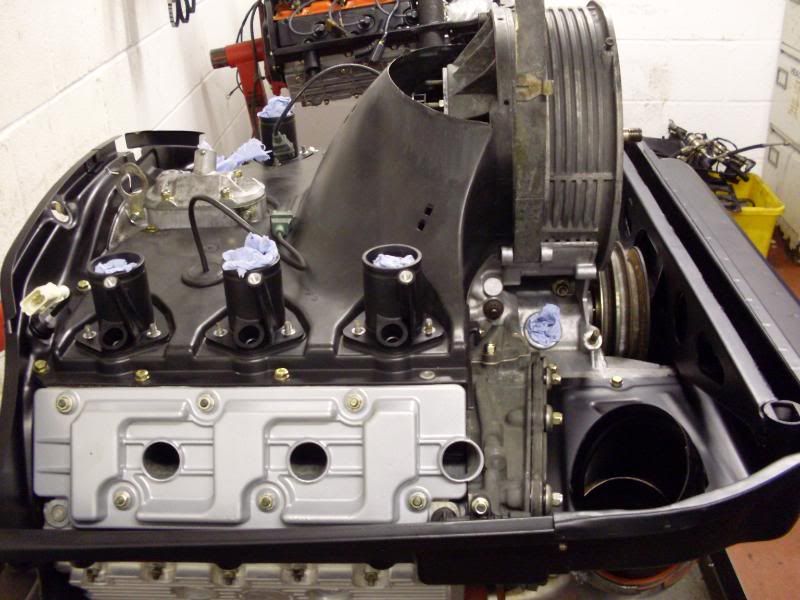
From the top (tins now look new courtesy of powder coating and new inlet chambers are being fitted):


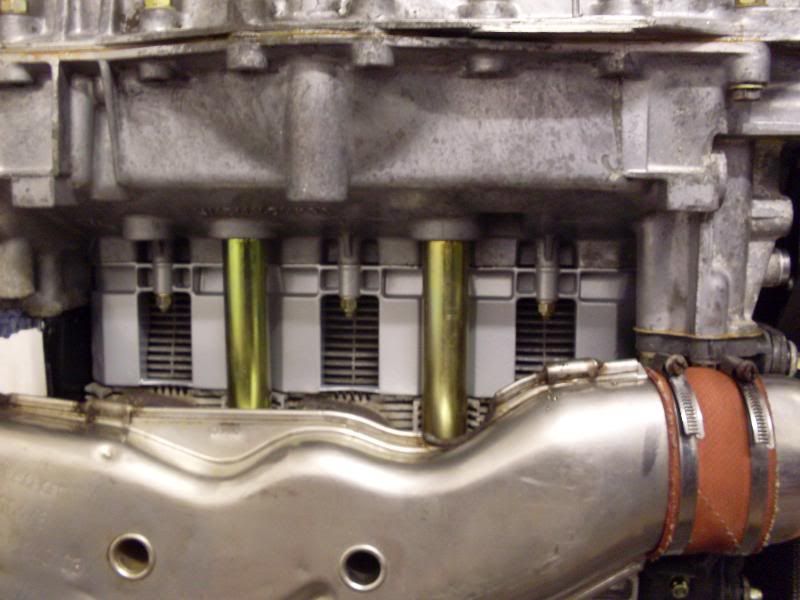
Pic showing the shiny new oil return tubes:


My lower aluminum billet valve covers which have been skimmed to stop them leaking:


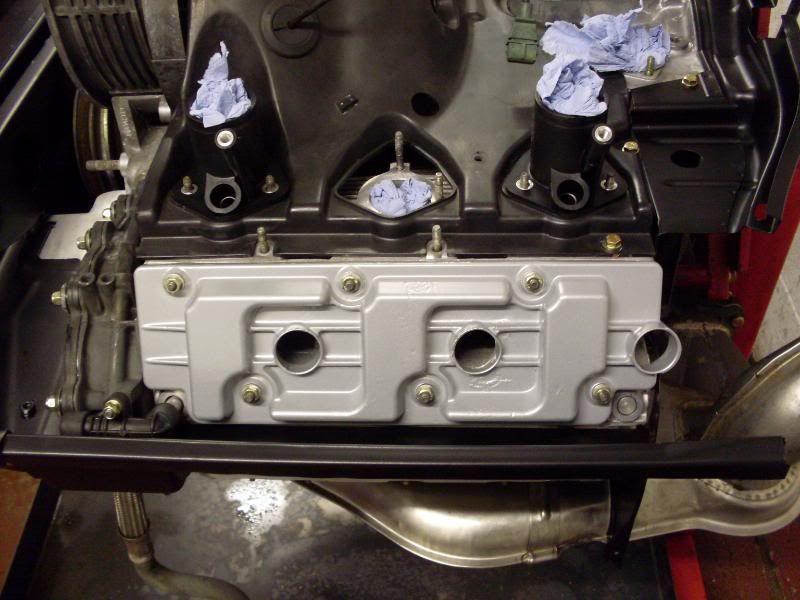
Upper valve covers have been powder coated grey:


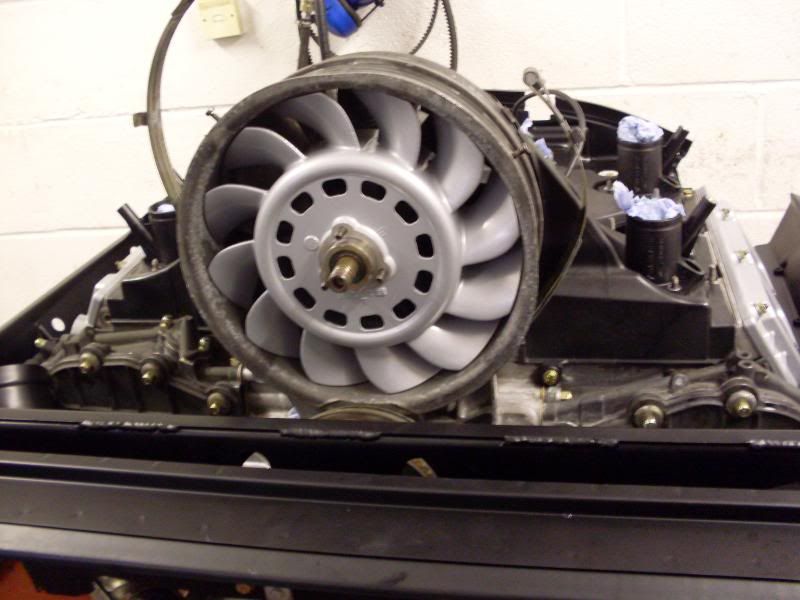
So has the fan:


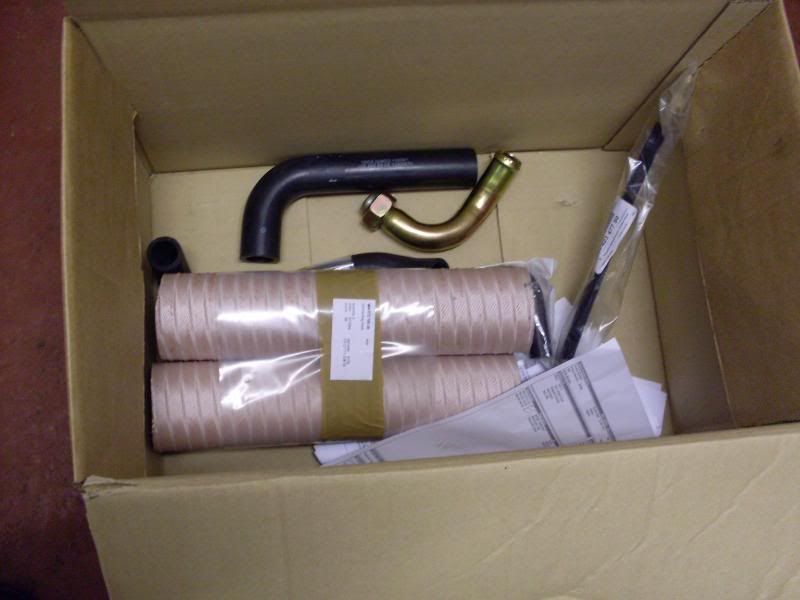
Box of new bits still waiting to be fitted:


Sunday, 23 October 2011

Engine Rebuild - Part 3 (Mar 10)

About 2 weeks after tear down had finished the rebuild with cleaned, re-conditioned and new parts began.

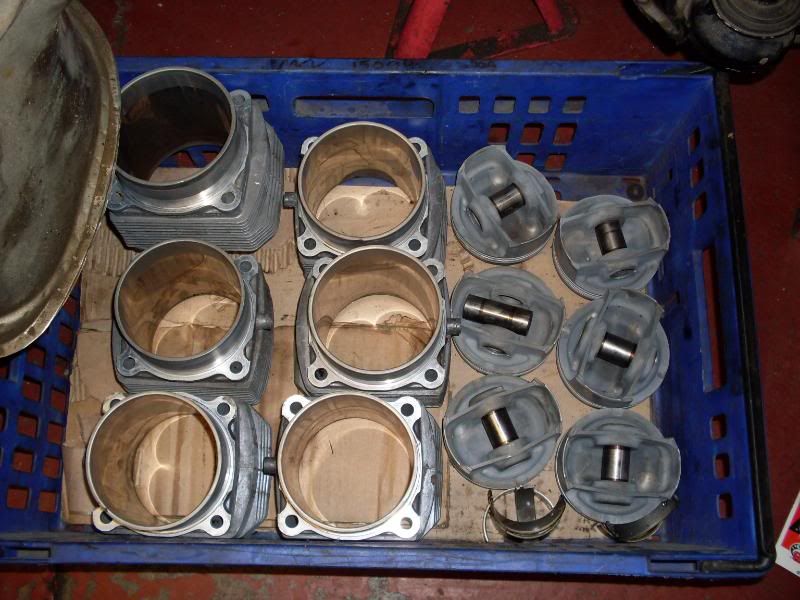
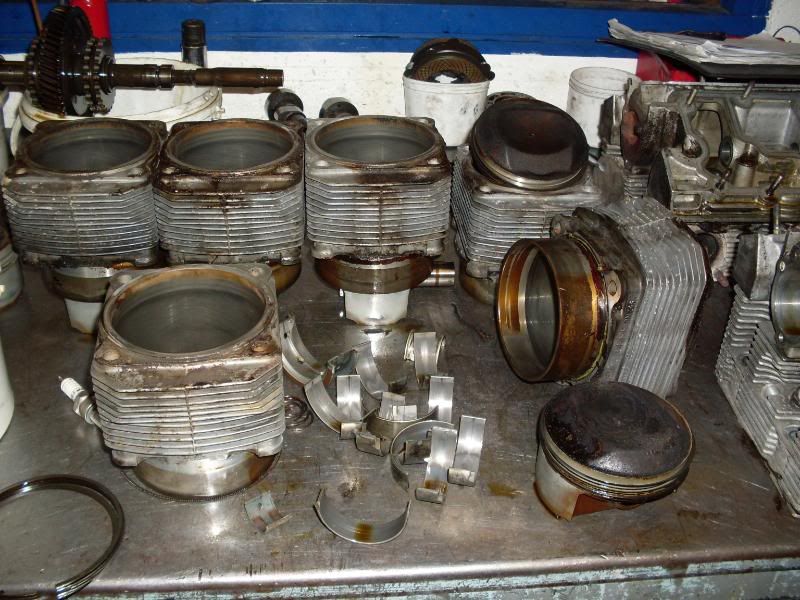
The pistons and cylinders, even with 170,000 miles on them were still well within tolerance so had been cleaned and polished. The pistons also received new rings of course:


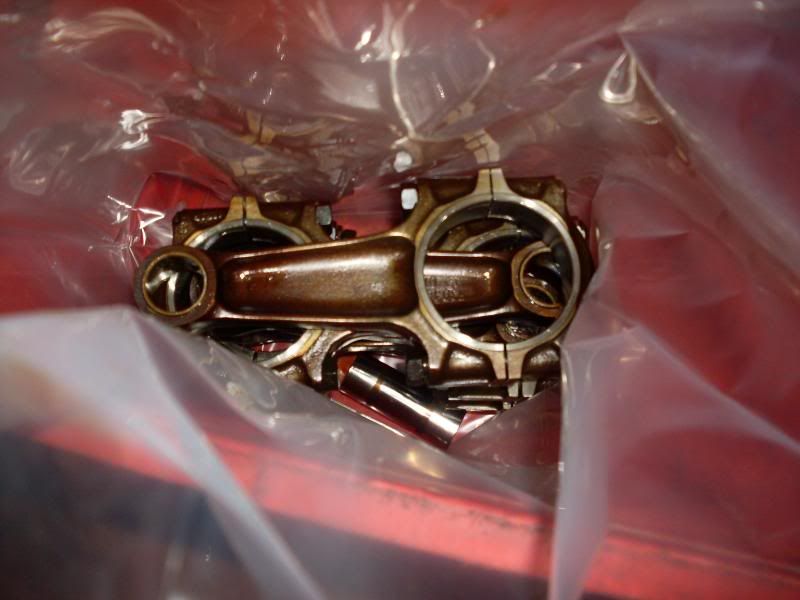
The conrods received new little end bearings because the originals were well worn:


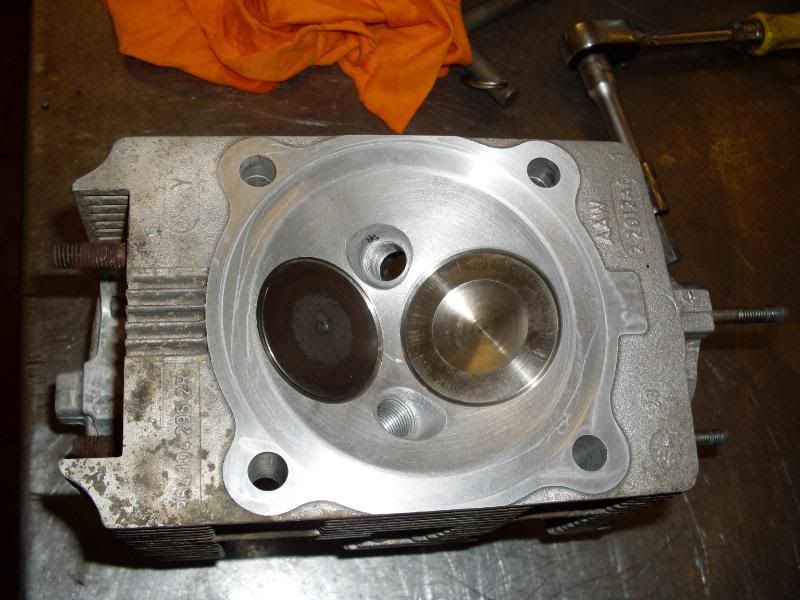
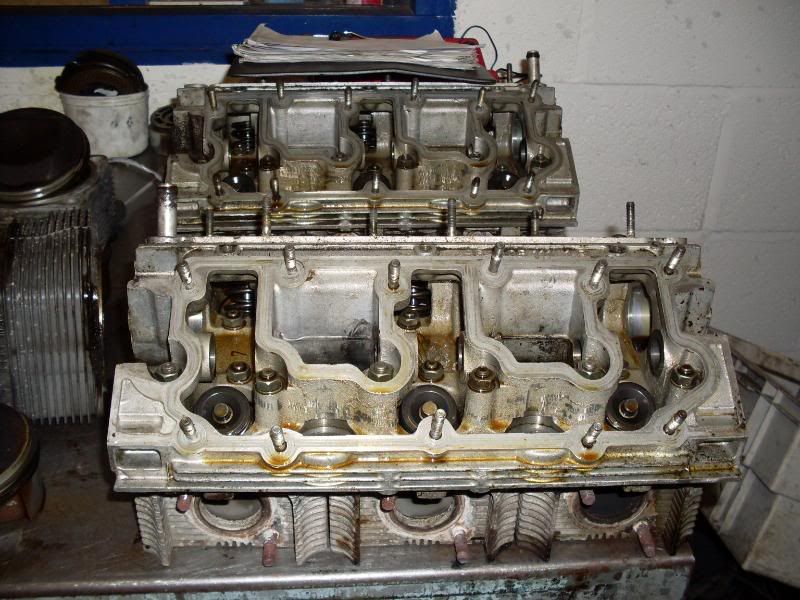
Each cylinder head and valve was de-coked, the valves re-seated and new valve guides fitted:


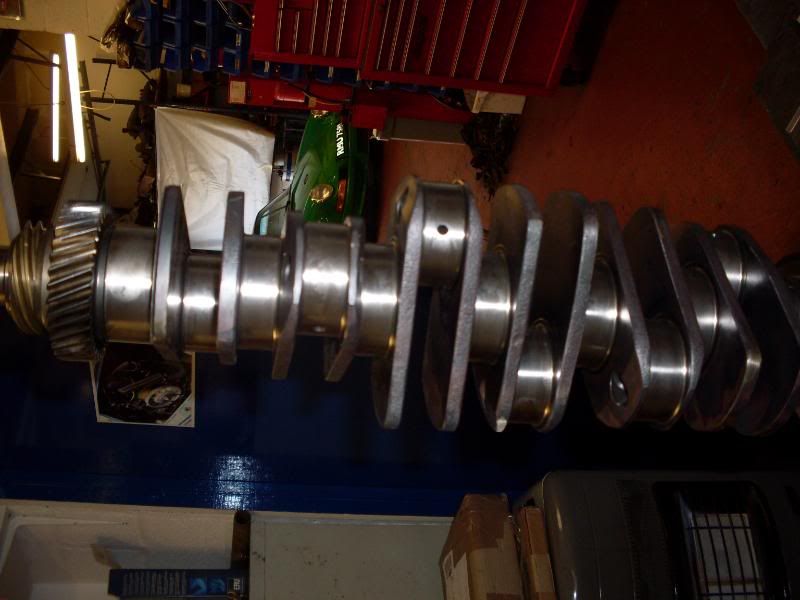
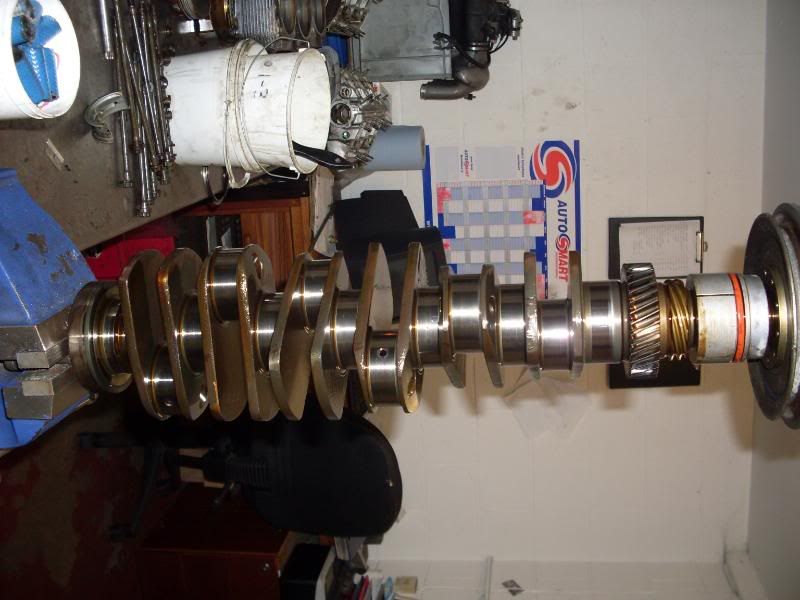
The crank was polished at the machine shop:


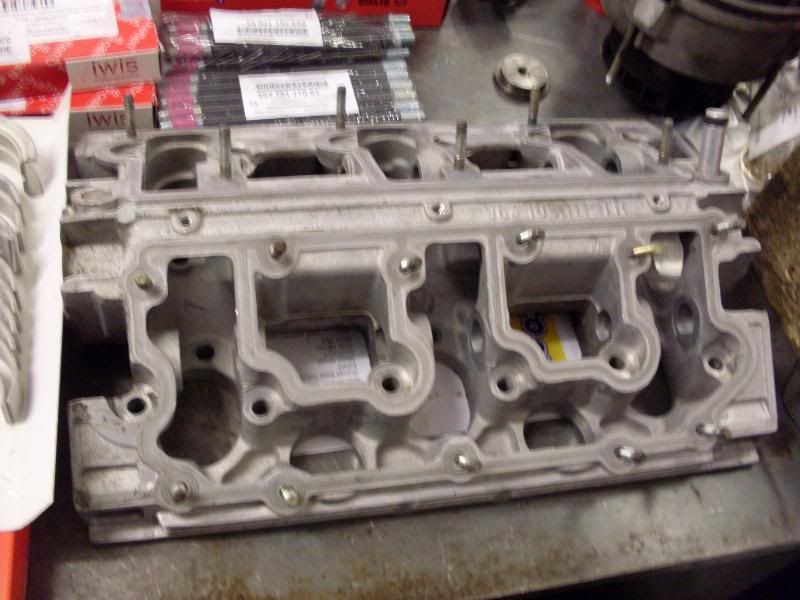
The valve was reworked, oil ways checked and new studs (with inserts where necessary) fitted:


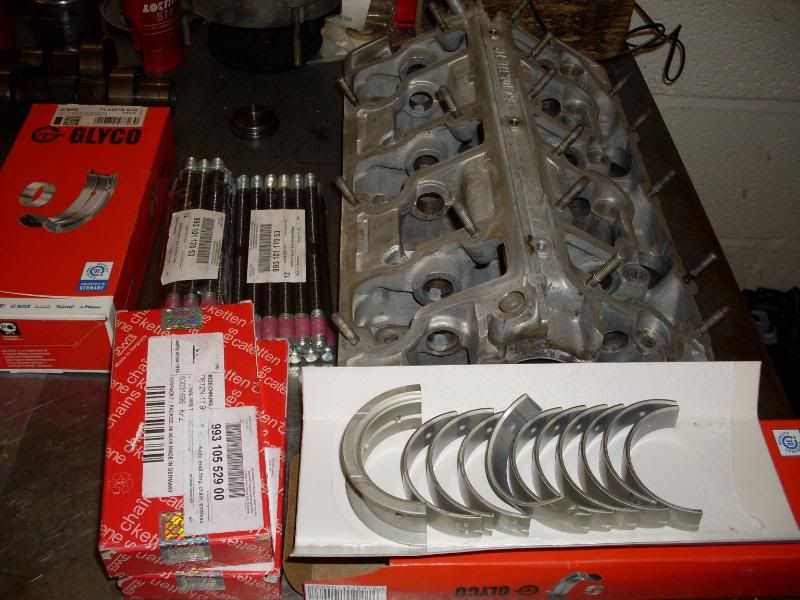
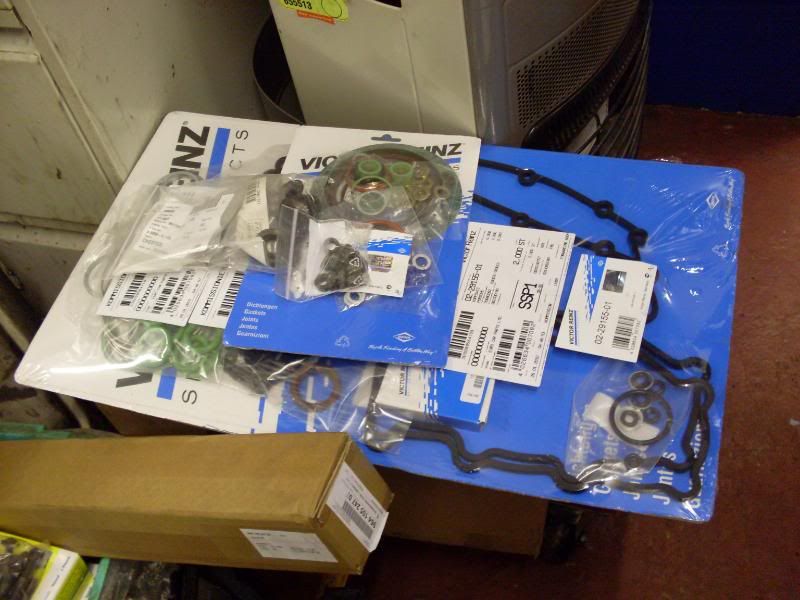
Lots of new parts that include crank shell bearings, a full set of seals/gaskets, oil through pipes and the all important (and very expensive) uprated dialever studs that bolt the main casing, cylinders and heads together:


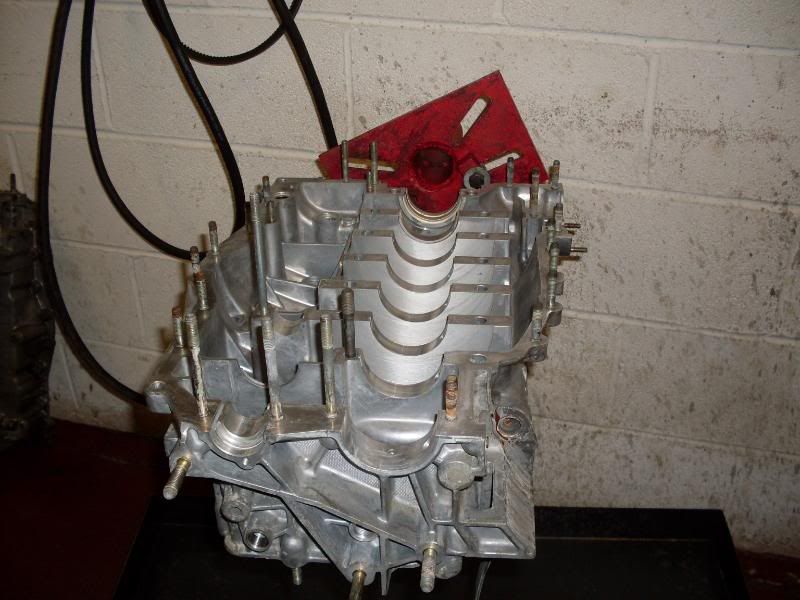
A cleaned case ready for reasembly:


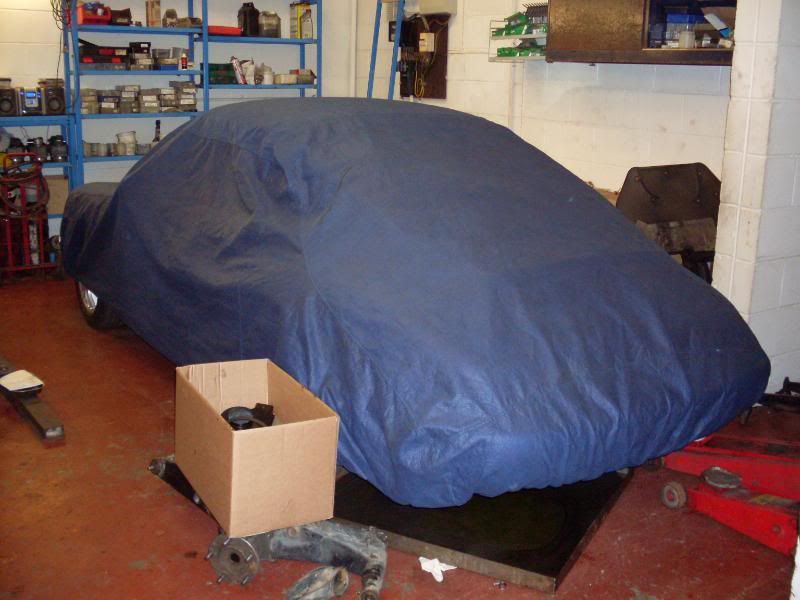
The rest of the car waits in the corner of the workshop under cover:


Saturday, 8 October 2011

Engine Rebuild - Part 2 (Feb 09)

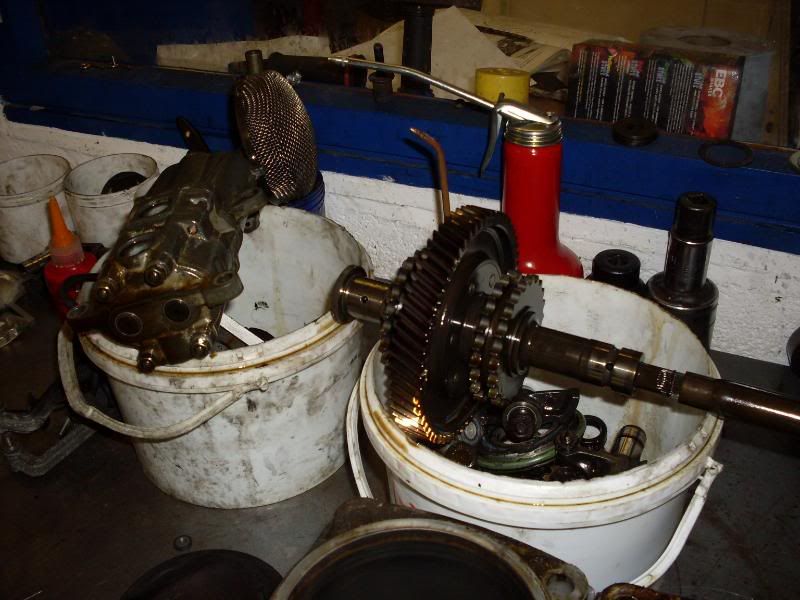
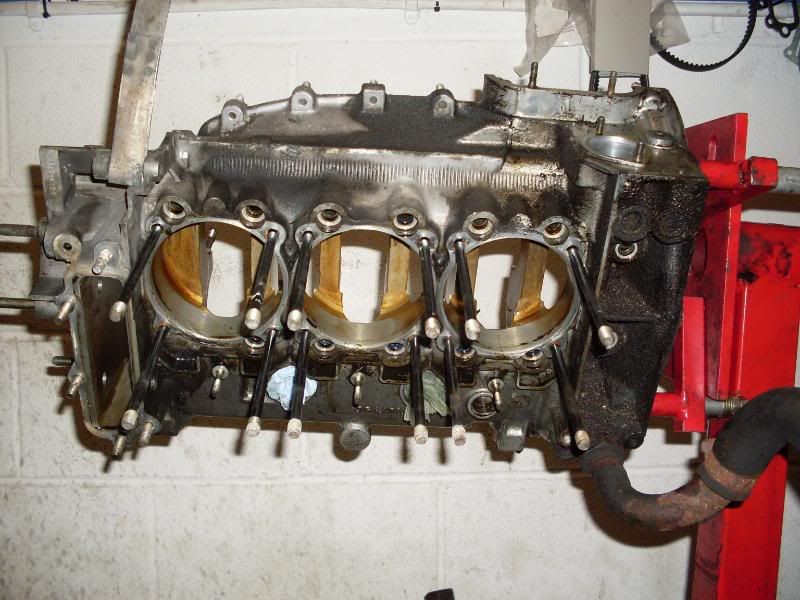
Pictures of the disassembled engine:


Then it was a case of de-coking, cleaning, polishing and re-assembling. The good tins (unlike the one above) and new tins went off for blast cleaning and powder coating.

Friday, 7 October 2011

Engine Rebuild - Part 1 (Feb 10)

Although I like to work on the car myself, I'm no where near enough competent (or have the facilities) to do this myself. Hence, on Monday it went into Unit 11, Warrington for Danny and Jonny to tear down. The car had multiple small leaks in all the usual places that an aging 964 engine has (timing chain covers, power steering pump, crank case nose seal, cylinder base gaskets, etc) and some leaks from breather pipes around the inlet. Therefore, I elected to go for their menu rebuild as a starting point. This includes addressing all these leaks, fitting new oil through pipes, new valve guides, de-coking the valves and cylinder heads, new piston rings, new timing chains and tensioners.

Of course, lots of other stuff crops up once the engine is out, particularly engine tins that need to be replaced or blasted and powder coated and breather hoses that have hardened and need to be replaced. Ideally, I want to have a LWF and clutch fitted but that will depend on how heavy the main bill gets! Luckily, my current normal DMF and clutch has been found to be in excellent condition and can go back in if the funds run out.
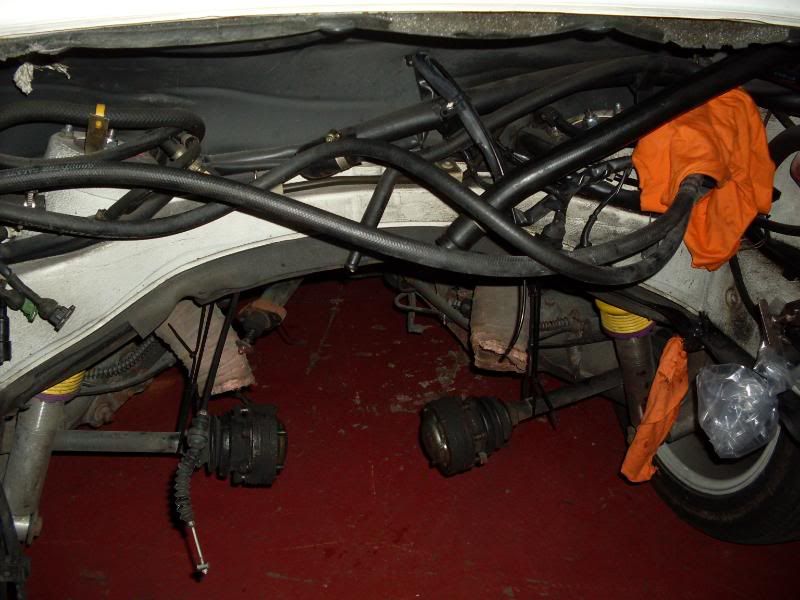
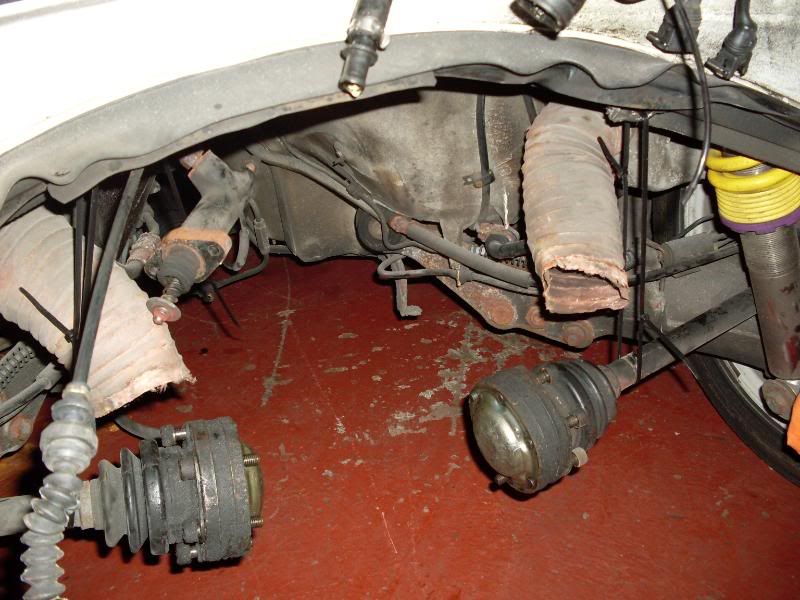
Here's the empty space in my engine bay where the lump used to reside:


The clutch slave cylinder and hose (left of next picture) has already been identified as needing replacement as has the clutch fork:


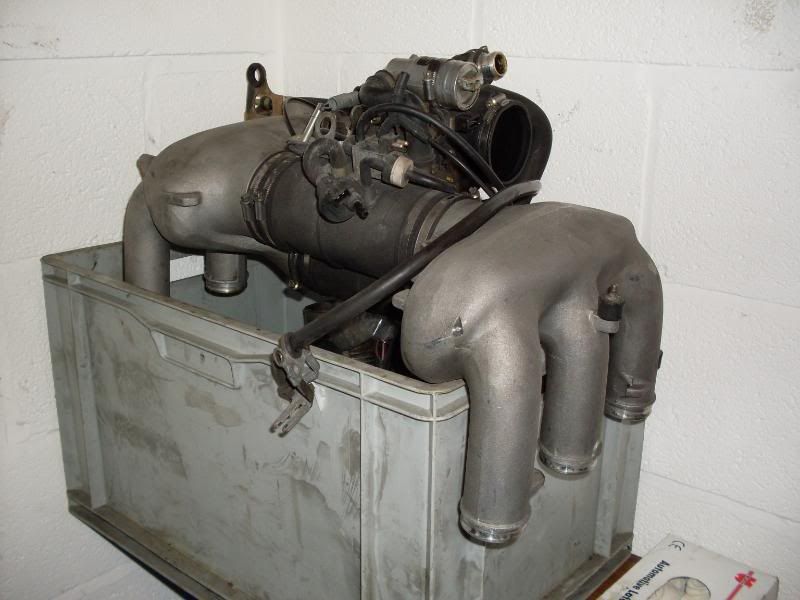
Here's the inlet and engine cowling that has been set to one side. The cowling is oily from leaking breather hoses. It's also split and some point so is going to need replacing:


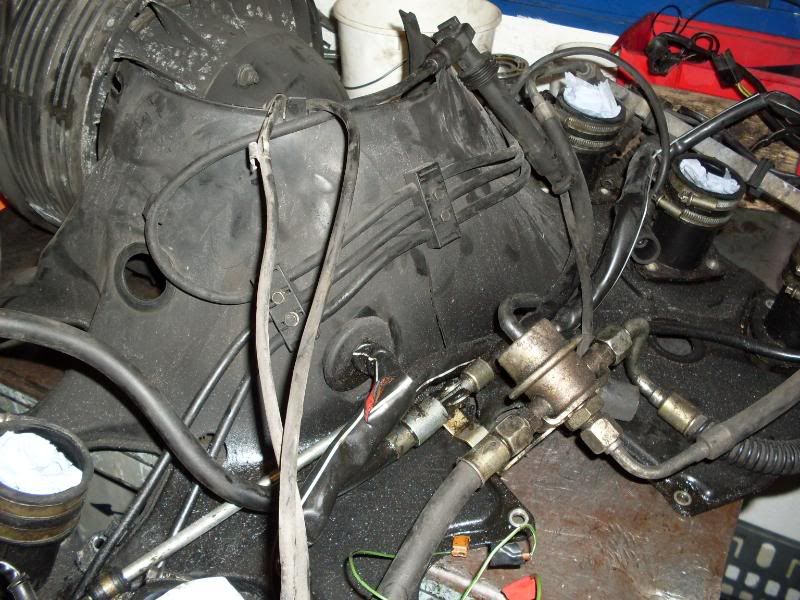
Here are the first pics of the engine as it's being (quite quickly) disassembled. Obviously it's very dirty and oily at this stage:


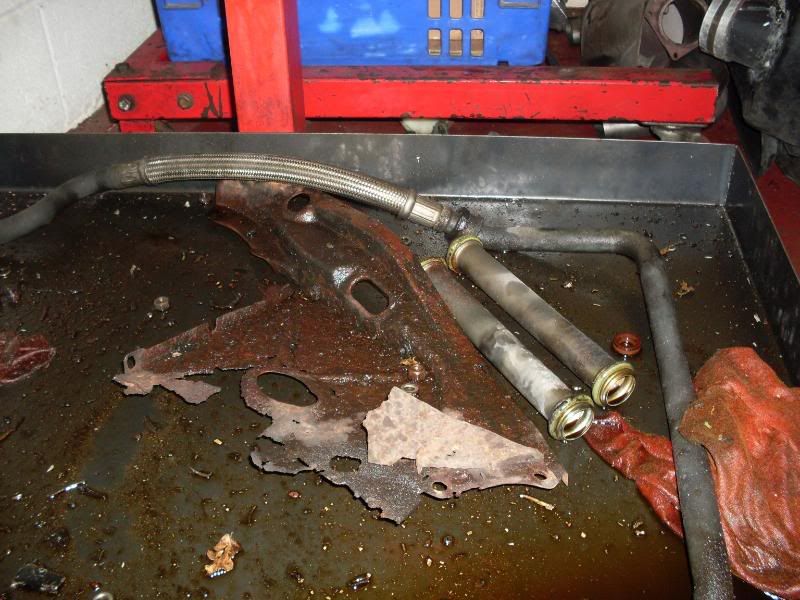
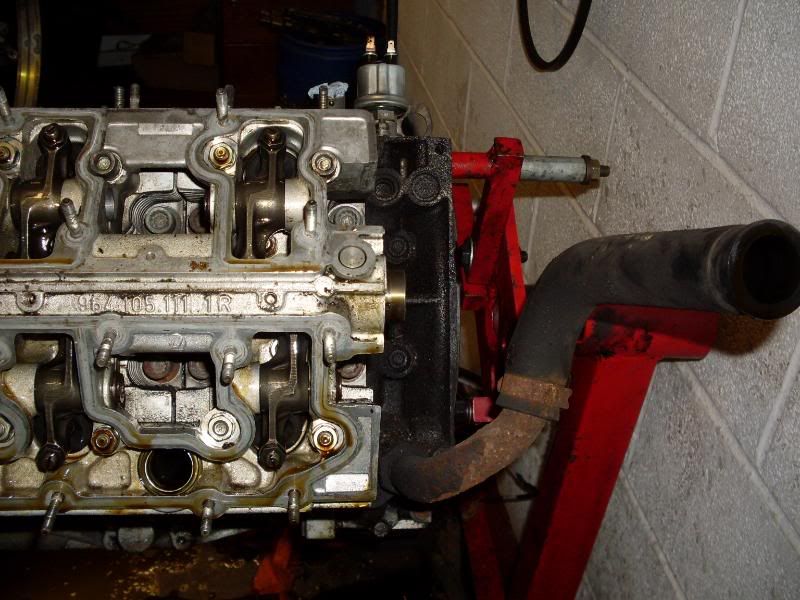
This pic shows the rusty crank case breather hose on the right that will soon be coming off and replaced: