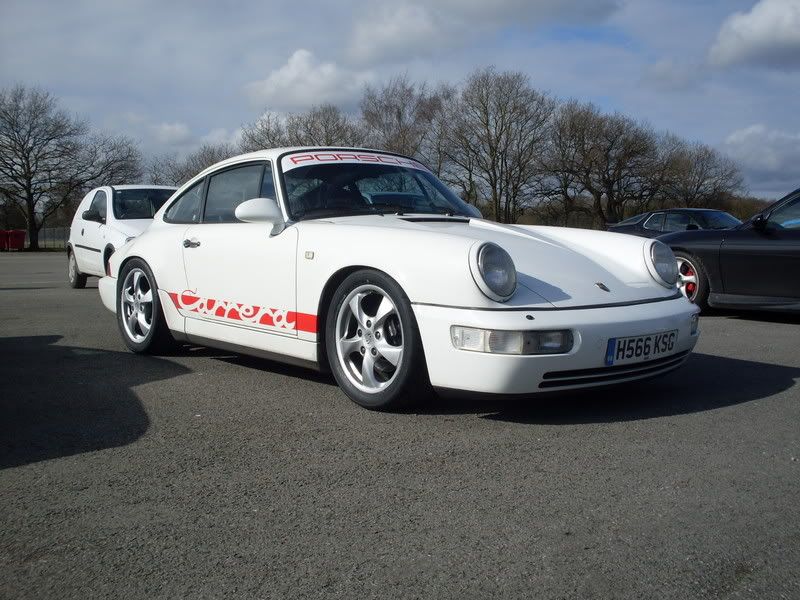
In late 2006 my passion for Porsche that had been kindled by owning a boxster lead me to search for a 911. In February 2007 I found a lovely, well used 964 carrera 2 coupe in GP white and embarked on a new adventure. This running report is about my 964 that would be used for high days, holidays and track days and be a 'project car'. It wouldn't matter if it spent time waiting for things to be fixed as it wouldn't be used as a daily driver.

Thursday, 15 September 2011

Got the exhaust repaired (Jun 09)

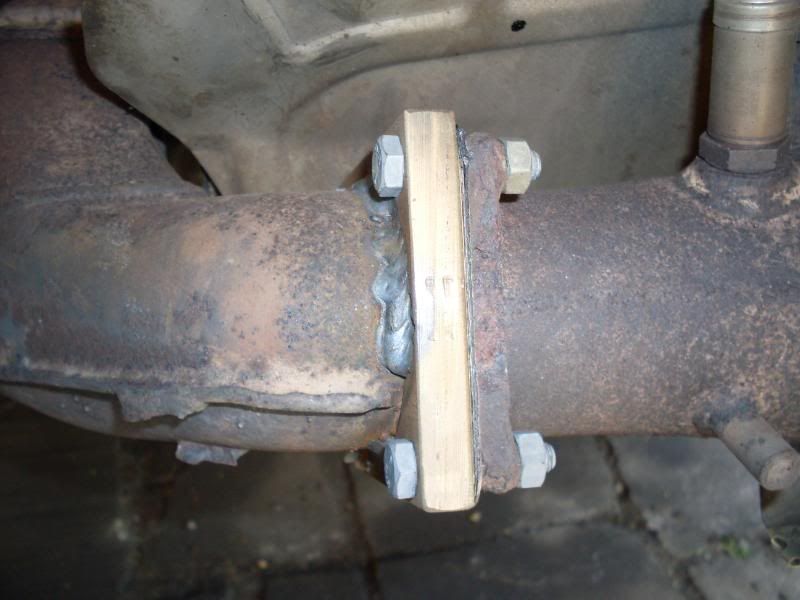
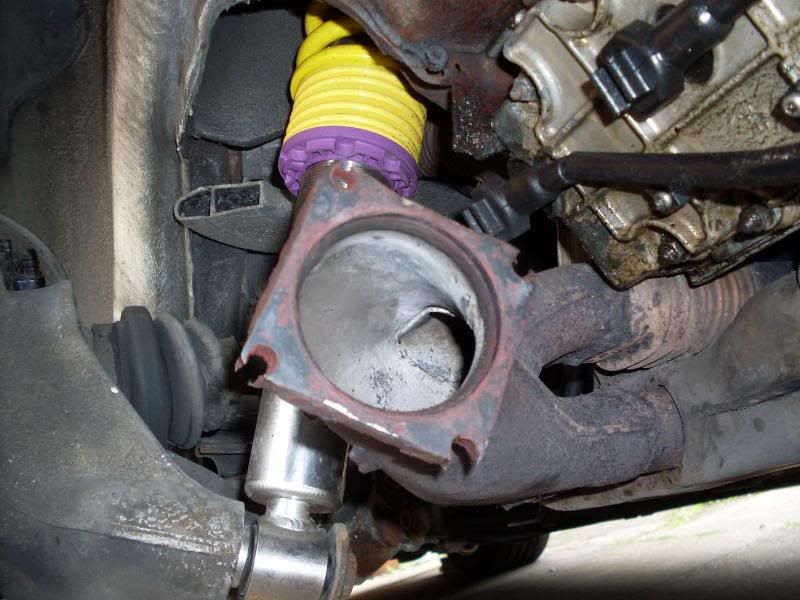
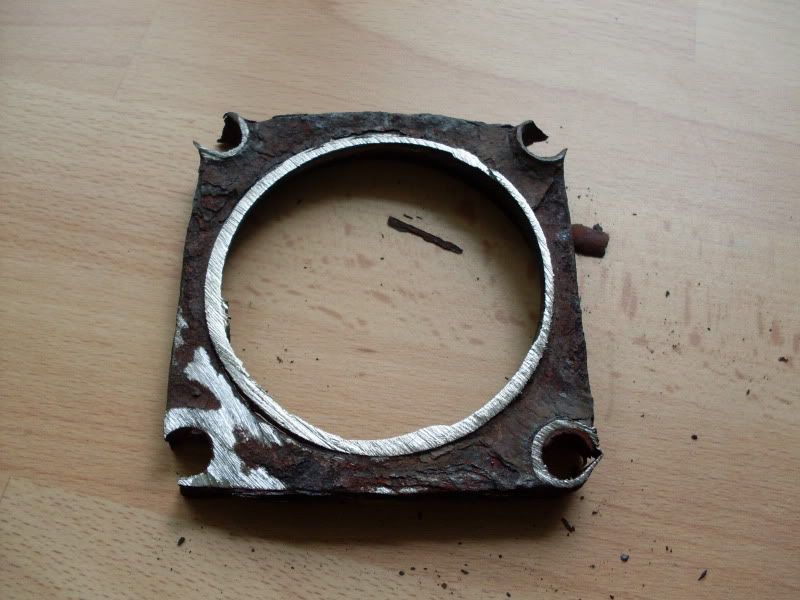
I'm pleased to report that the exhaust issue has now been remedied. The boys at Unit 11 Warrington got a new flange fabricated which is a few mm thicker than the old one. This allowed them to saw off the old flange and weld on the new so that the same spacing was retained (important to ensure that the cat could be bolted on without stressing the exhaust system). A complete new heat exchanger for that side would have cost £2,000 (and a good used one up to half that). The all in cost from Unit 11 to make and fit the new flange was a tenth of that! Here's the old flange now separated from the car:
The flange was initially tacked on to the outlet of the heat exchanger:
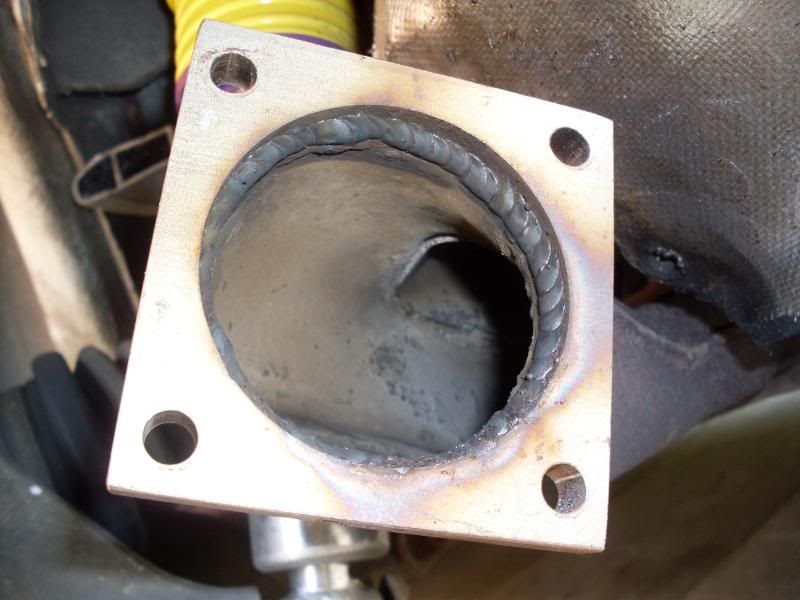
Then the inside was welded to make it gas tight:

Changed the oil pressure sender (Jun 09)

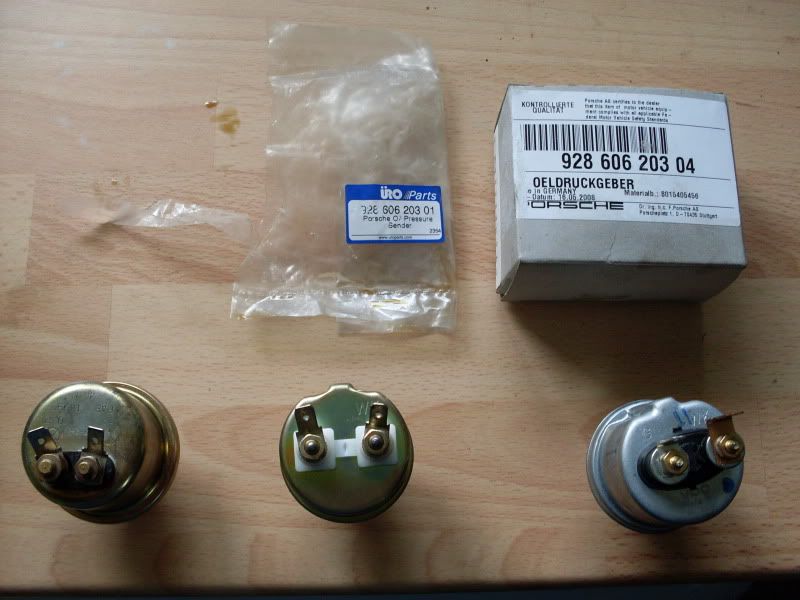
Since buying the car I've had flaky oil pressue sender. The needle used to bounce around a was useless for getting an accurate reading. To remedy this I fitted an aftermarket sender (supposedly from a reliable source) which didn't work at all. The replacement I was sent also didn't work! These were £30 not very well spent. So at the third time of asking I got my money back on the aftermarket ones and bought one for £70 direct from Porsche. This one works like a charm and just goes to prove there are certain times when only original parts will do. Here, left to right, are the old one, the duff aftermarket one and the original Porsche one:

Sunday, 10 July 2011

New valve covers and some engine tins (May 09)

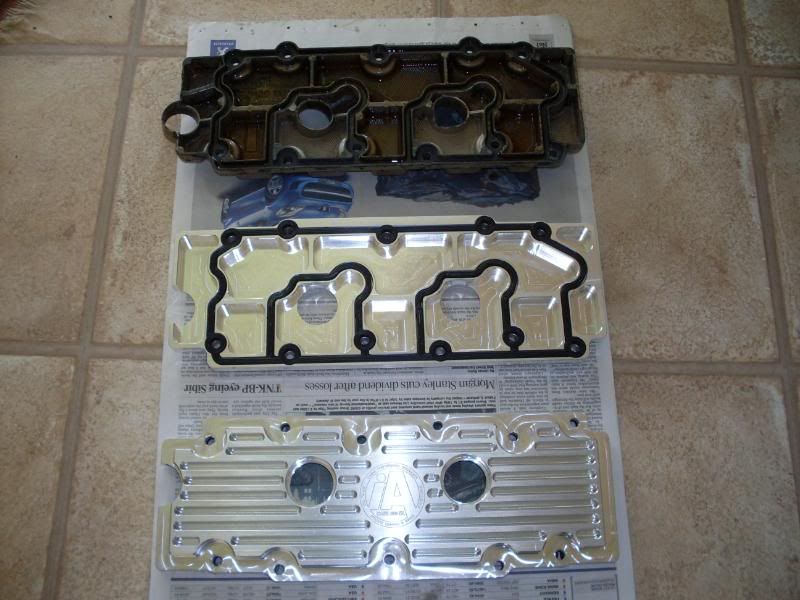
964s are infamous for being one of Porsche's leaky 911s. One of the many things that can leak oil are the lower valve covers which are known to warp over, time with the result that the rubber gaskets let oil out even when they are new. The valve covers were originally made of magnesium but these were changed to aluminum at the end of the model line. Even so, the price of Porsche replacement valve covers are nearly £500 a pair plus the the rubber gaskets. Luckily, there are some aftermarket covers available from the USA so I bought a pair direct from the USA that even after shipping, came out to £218.

Newly purchased valve covers below and one of the old magnesiums covers:


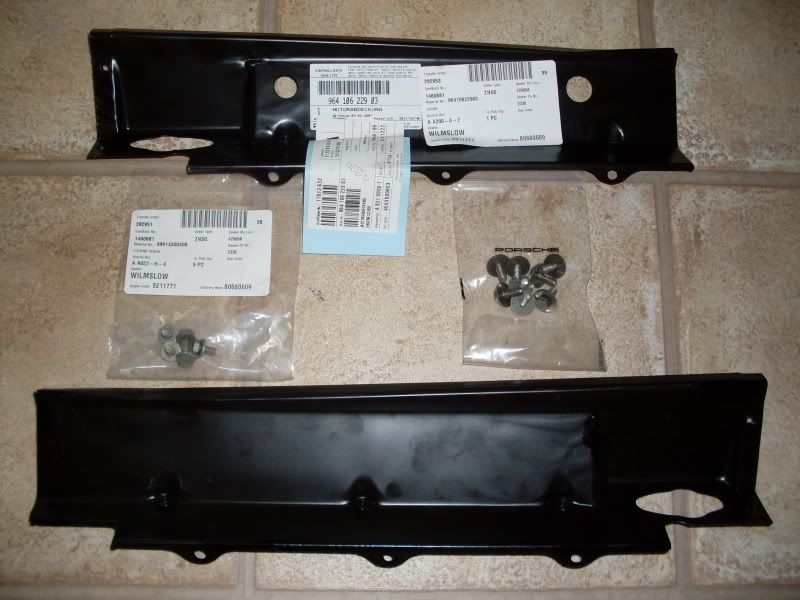
Seeing as this was a going to a big job I took the opportunity to replace some of the rusty tinware that fits just above the covers. The tinware has a dual role of shielding the engine from exhaust heat and is vital for directing the air flow produced by the cooling fan. The only place to buy new tinware is directly from Porsche. This little lot, including a few extra bolts came to £147!


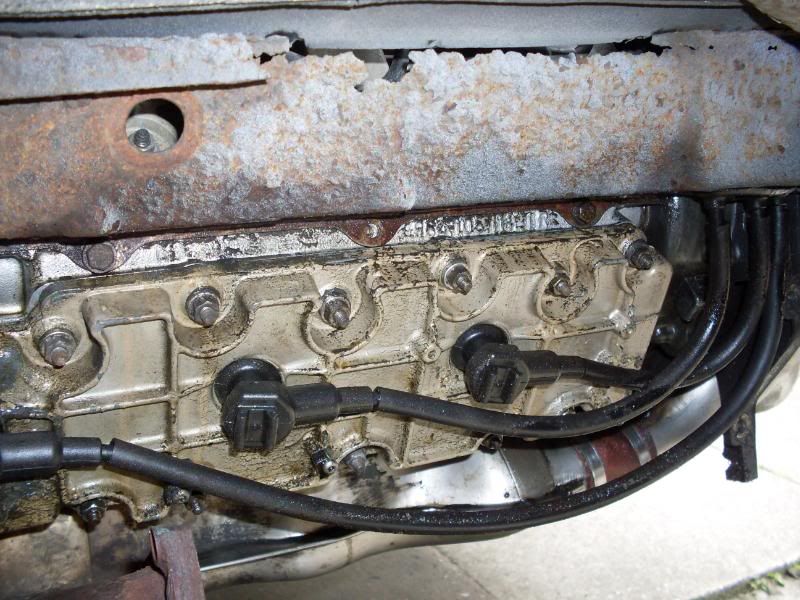
Starting on the right side of the engine the first job was to remove the final silencer which exposed a heat shield and a piece of rusty tin:


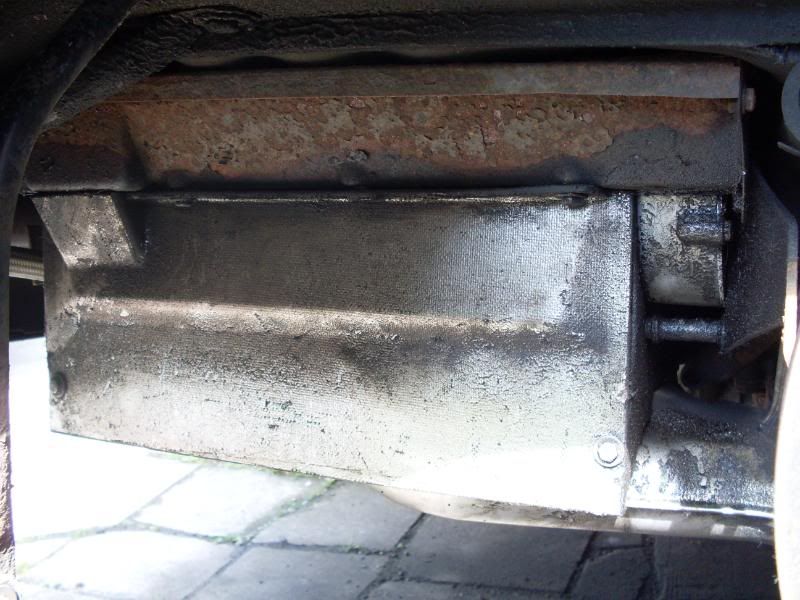
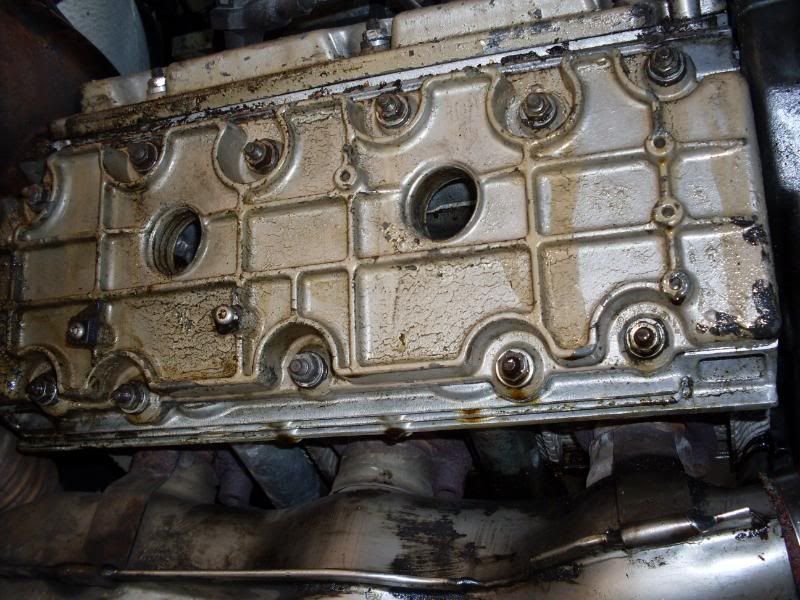
Once the heat shield and tin were removed removed, the original valve covers were exposed. The upper one is dry (as expected) but there's plenty of oil smeared over the lower one.


Lower valve cover removed:


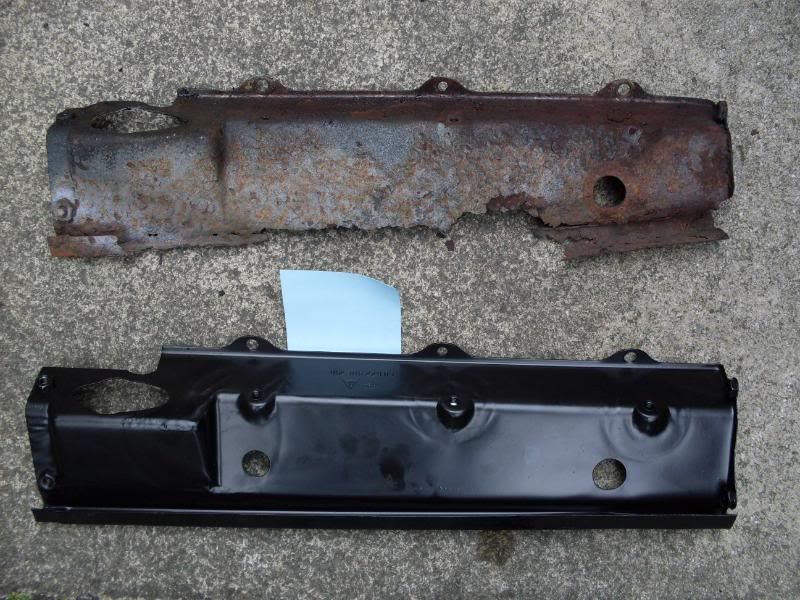
The old rusty piece of tin and the new piece is shown below. On close inspection it's actually all in tact so could be shot blasted and powder coated so I'll keep it as a spare or stick it on ebay when it's freshened up:


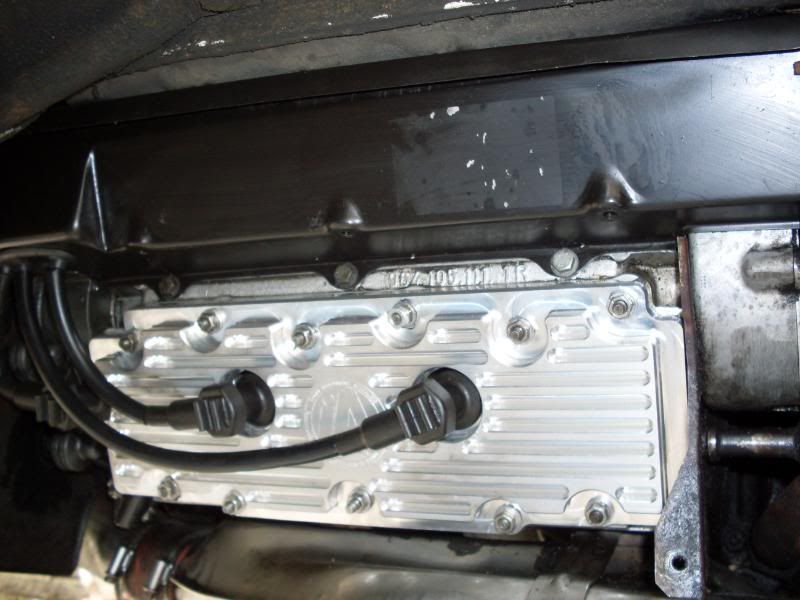
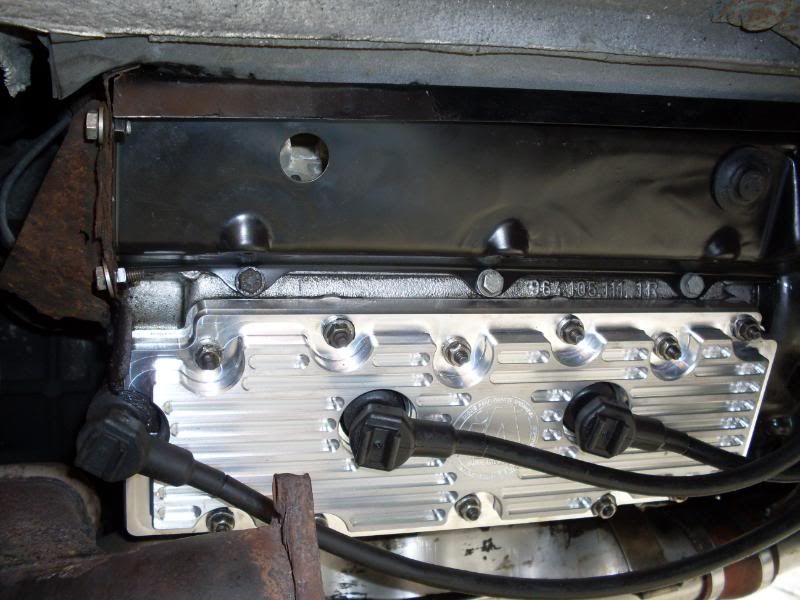
All the old oil that had been seeping out over many years cleaned away and new valve cover and tin fitted:


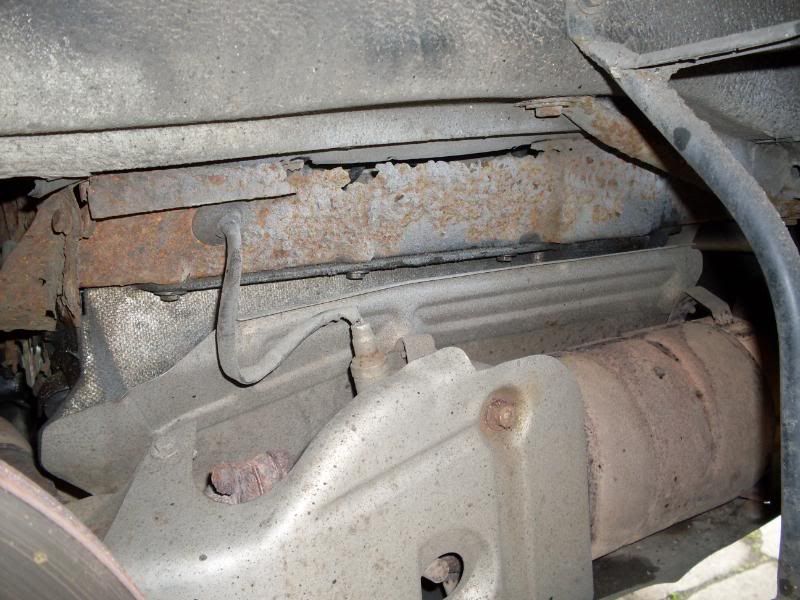
That side was relatively easy but moving over to the other side the job got a lot bigger because the catalytic converter needed to be removed and since this had not been taken off for some time, there were going to be a lot of siezed nuts and bolts. Here's what I faced:


With the cat eventually out of the way (it took a while to get off) and the lower heat shield removed, you can see that the tin on this side was in a shocking state:


A close up of the valve cover showing just how leaky this one was:


Old and new tin. I didn't bother keeping the old one this time!


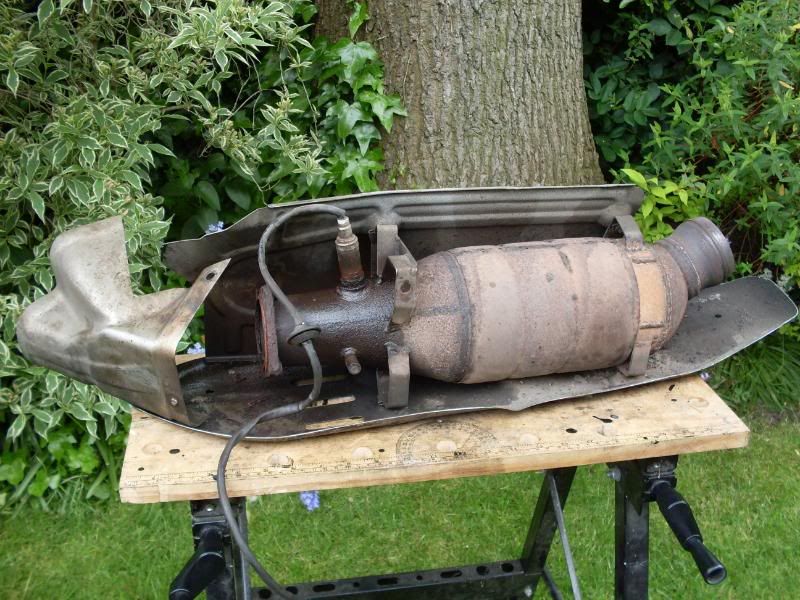
Here's a pic of the big cat off the car. Seeing as it was off, I put in a new O2 sensor as there's no record of it ever being changed:


New valve cover and tin fitted and now looking a lot more presentable:


Although I took a few hours off to watch the Spanish GP, this ended up being a full two days work. Although I could have done all the main work quicker, I took the opportunity to give everything I took off a thorough wash with degreaser (Swarfeger solution) which I think is one of the benefits of doing these jobs yourself as a garage wouldn't bother with this bit.

The only downside of the weekend was that removing the cat has now caused me a headache because I found that the flange that connects the headers to the cat has corroded very badly. Since the headers are an integral part of the heat exchangers (produce heat for the air vents) this could mean I'm in for a lot of ££££s to fix it:

Saturday, 15 January 2011

First Track Day of 2009 (Apr 09)

This was the first chance to see what the big suspension and tyre changes had done to the car. Perhaps I should have resisted the tyres and just saw what the suspension had done to the performance on road tyres. No matter as I can do that in the future if necessary.

With this being, I think, my sixth go at Oulton I knew the parts of the track it struggled. In particular, the esses before Knickerbrook and the tight off camber turn at Lodge. It also used to wallow a bit in fast corners like Druids. The changes are quite remakable. The car is much, much sharper now on turn in and sticks much closer to the chosen line. The result is that I don't have to use as much of the track through the slower corners (i.e. I've got less understeer and therefore have room to go a little quicker through these). More impressive than that was the ability to carry more speed through the faster corners. I managed to do some quick glances at my apex speeds and recall 70 mph at Old Hall, 80 mph at Cascades/Lake, 90 mph at Island and 70 mph at Druids. With time all could be done a bit quicker because there was still plenty of room left on the exits (previously I needed the exit kerbs).

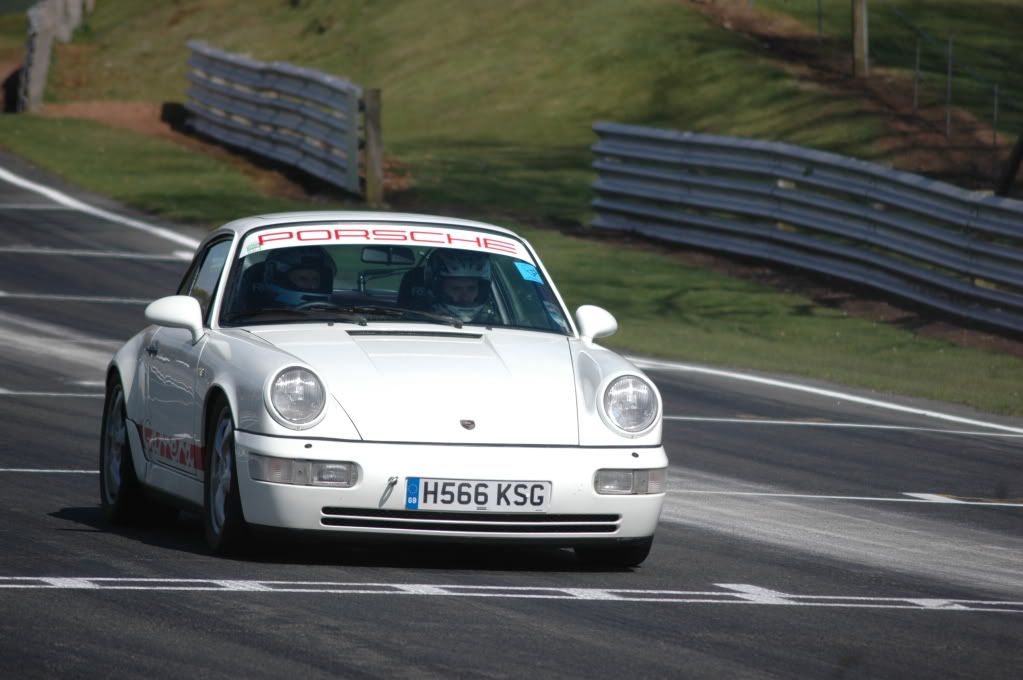
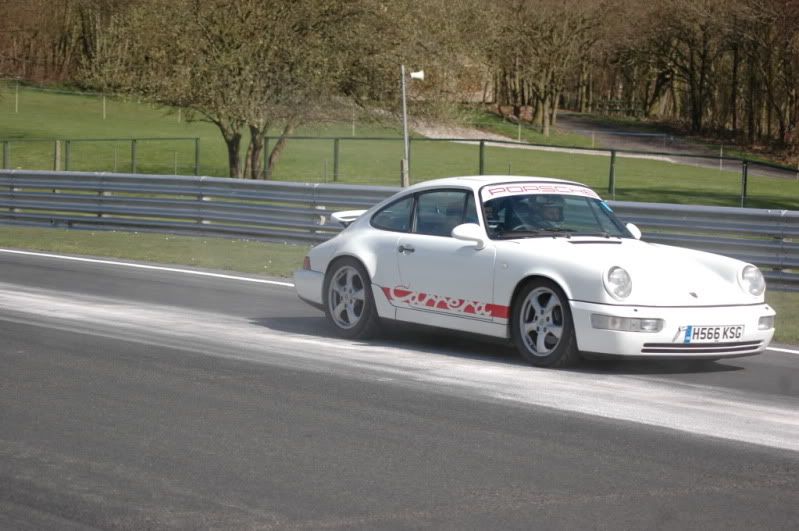
A couple of photos courtesy of my friends Fraser and Dave:


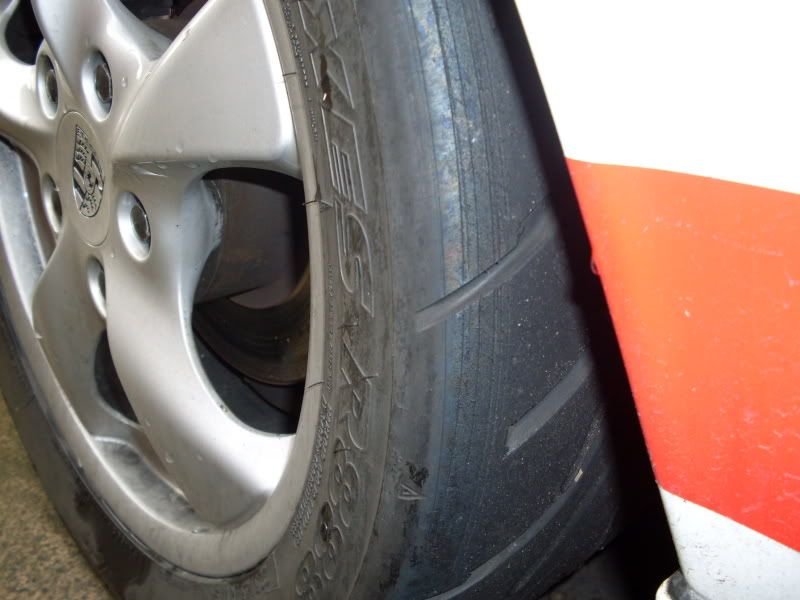
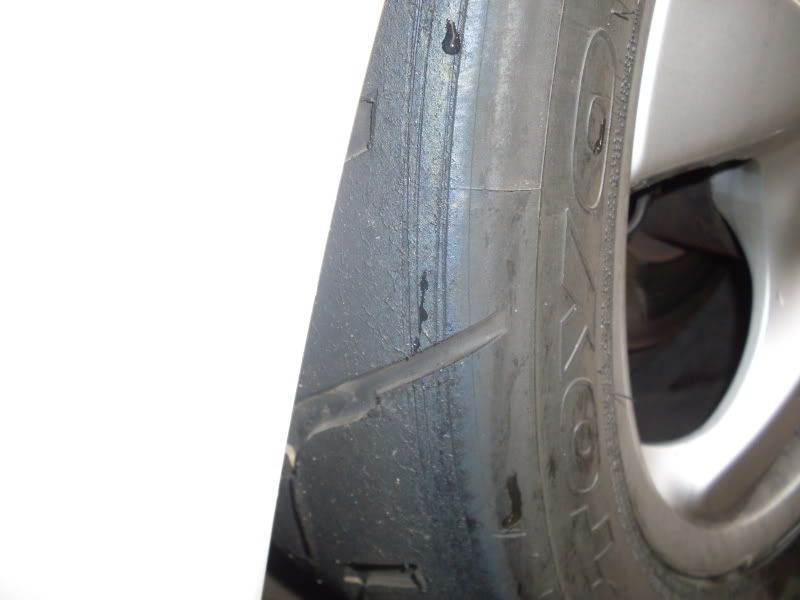
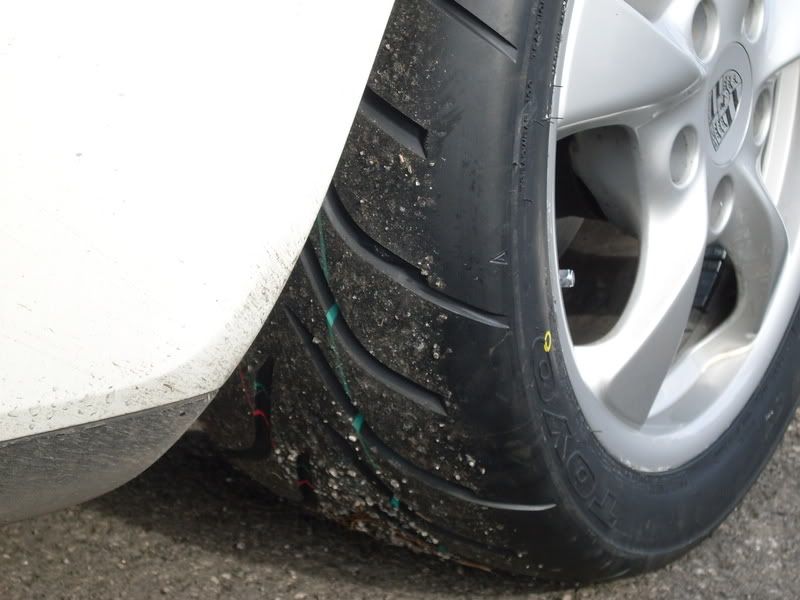
This was also the first time I ran with Toyo R888 track tyres. The Toyos aren't available in the normal front size of 205/50/17 but the popular choice is 225/45/17 which is what I have. I experienced no issues during the day and as expected the car went the best it ever has on track with the new suspension, geo setup and track tyres . However, this is what I found when I got home (left front tyre):


I think the different rub/cut lines are probably due to me regularly dropping the pressures during the day as the tyres got hotter. Clearly this is not good for the tyre so I'll investigate a number of cures:

1. Raise the front ride height a bit (currently RS spec)
2. Junk the tyres and fit 215/45/17 (the only other Toyo option)
3. Roll the arches (a bit drastic)
4. Drop pressures more (I got down to 35 psi hot)

There are no similar marks on the other tyres. The circuit (like most in the UK) is a clockwise track hence the left tyres are the ones that take most of a beating.

Tuesday, 28 December 2010

First Set of Track Tyres (Mar 09)

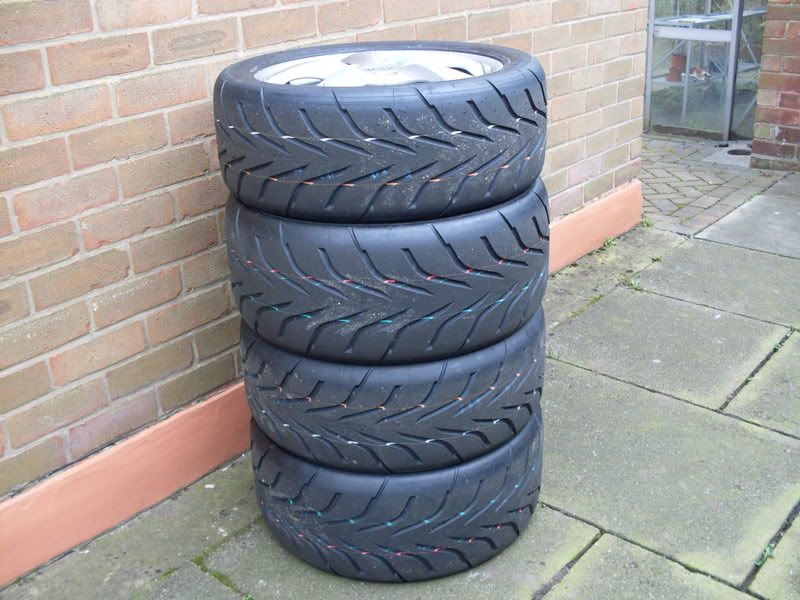
In preparation for the new track season I got the spare wheels I've nicked off my boxster shod with trackday tyres. So they're now wearing a spanking new set of Toyo R888s.


I soon found that they work great on the road (albeit that they whine when clocking on) and can't wait to get them on the track next month.

Monday, 27 December 2010

Suspension Upgrade (Mar 09)

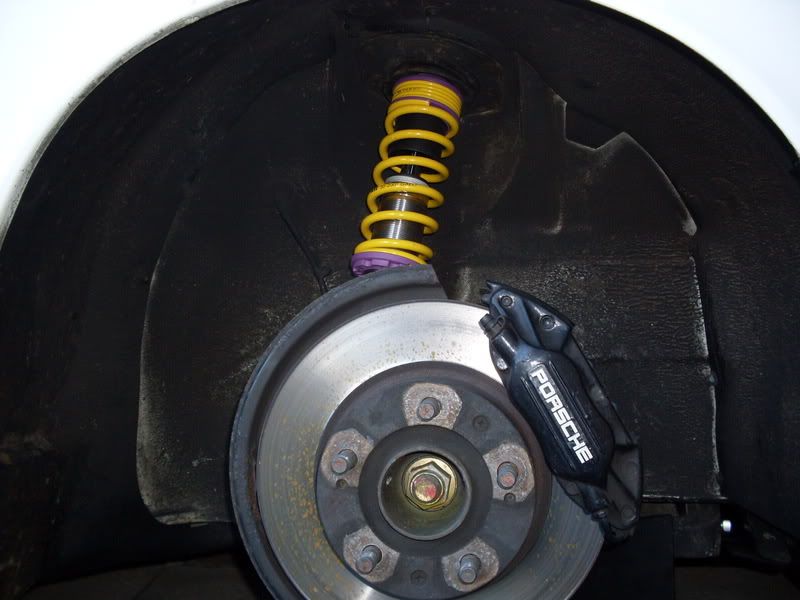
The car came to me with the original fitment Boge shock absorbers albeit that the rear shocks had been replaced and shorter springs had been put on to the lower the car. Changing the suspension had always been planned. When it was time, I wanted it to be replaced with something more suitable for the track.

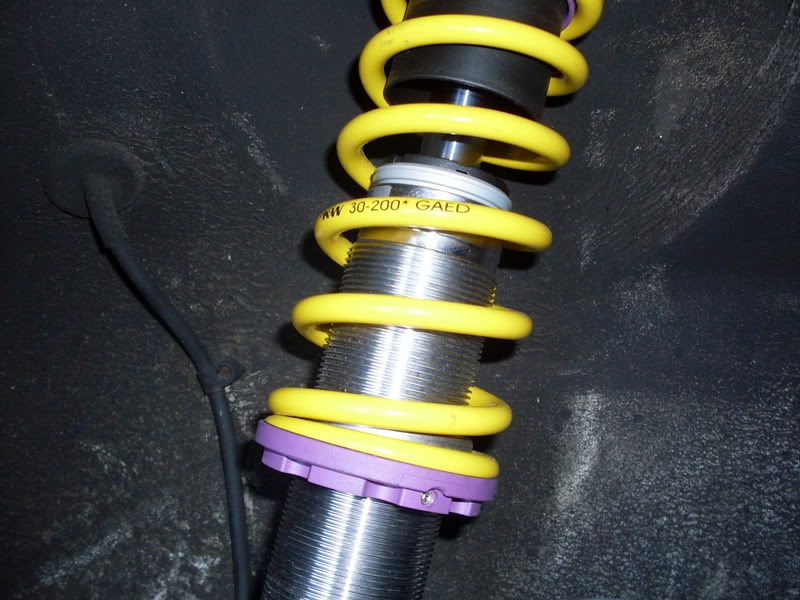
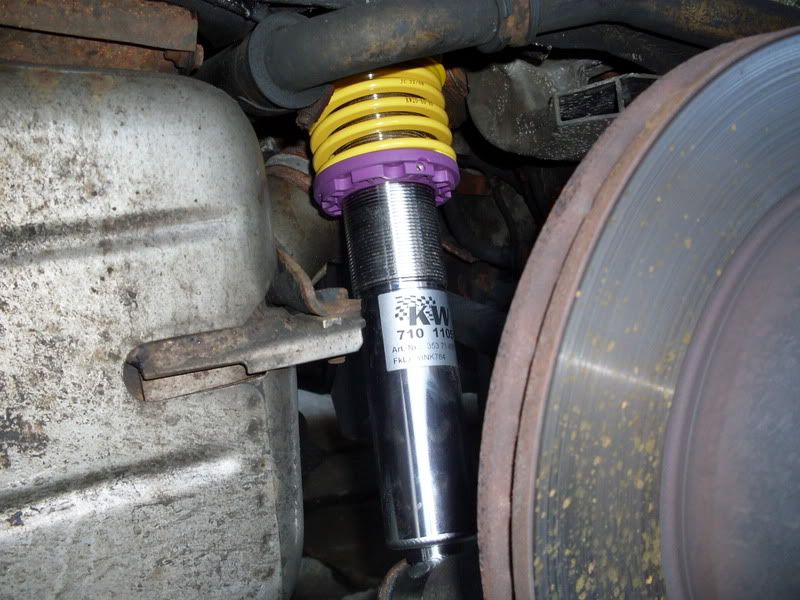
Putting new suspension on something I decided to leave to the experts. Luckily up here we have one of the highly regarded experts in aircooled 911s, Jonny Holland of Unit 11 Warrington. Jonny recommended without hesitation that I should have KW Variant 3 fitted, so that's what I got.

Front:


Rear:


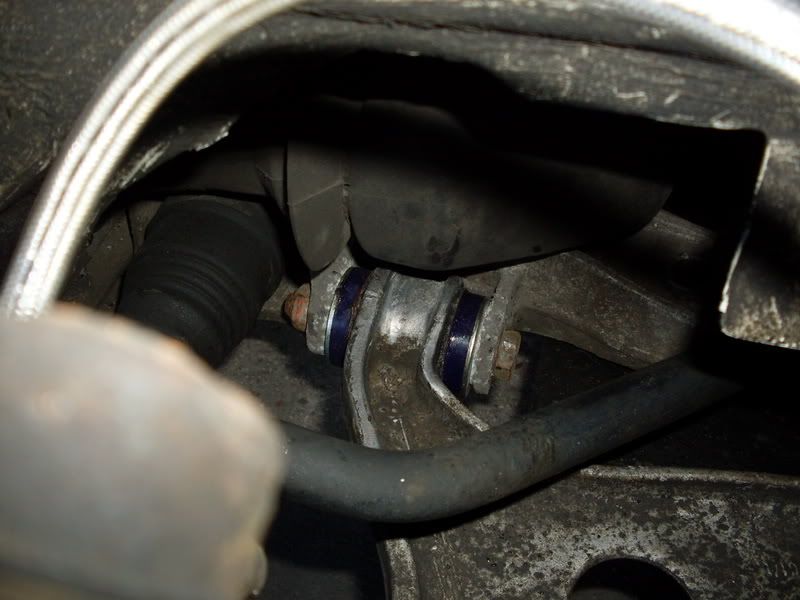
At the same time I had them replace the aging rubber wishbone bushes with the newer polyurethane (super flex) bushes:


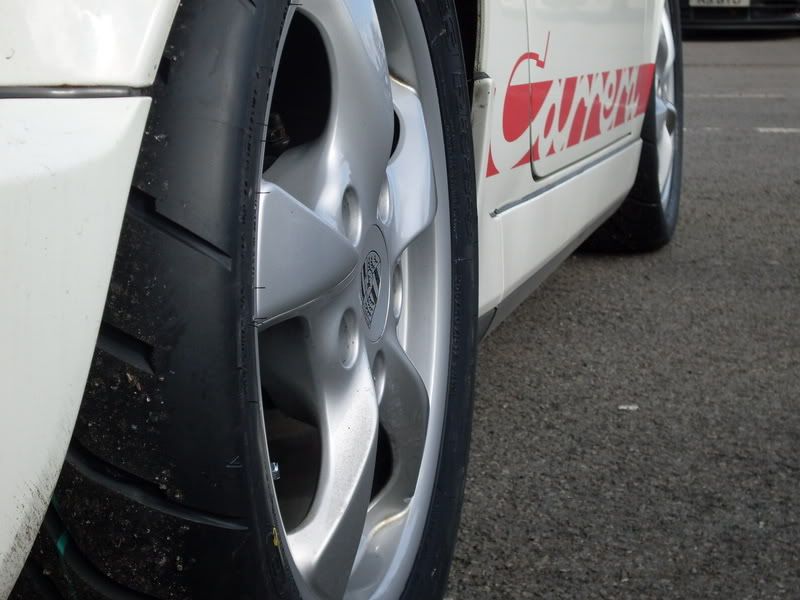
Of course having all this done requires a full geo on the car which was carried out by Jonny's colleague, Danny who used to set up 911s for the track when working at Tech9 in Liverpool. The car's ride height has been dropped to near 964RS specs and the appropriate negative camber applied and the castor and toe set to make the car sharper in the handling department. The car now has a very agressive nose down stance:


Out on the road the handling has been transformed beyond my greatest expectations. The nervousness of the front end has gone which is noticeable both while driving at high speed in a straight line and when driving on bumpy roads, where it used to dart about when unsettled by a bump. Turning is now sharp and quick and inspires me with the confidence to drive it swiftly. And while the adjustable bump and rebound is set to medium the ride is still very comfortable on the old bones.

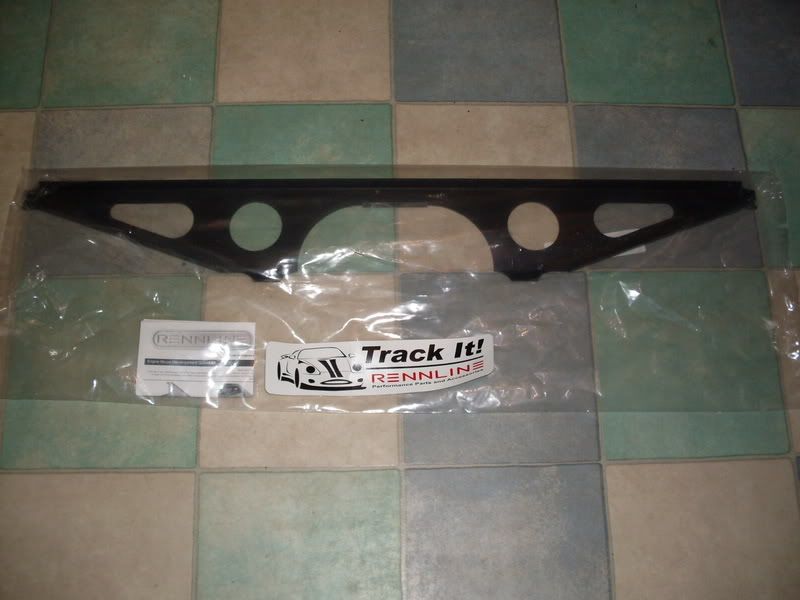
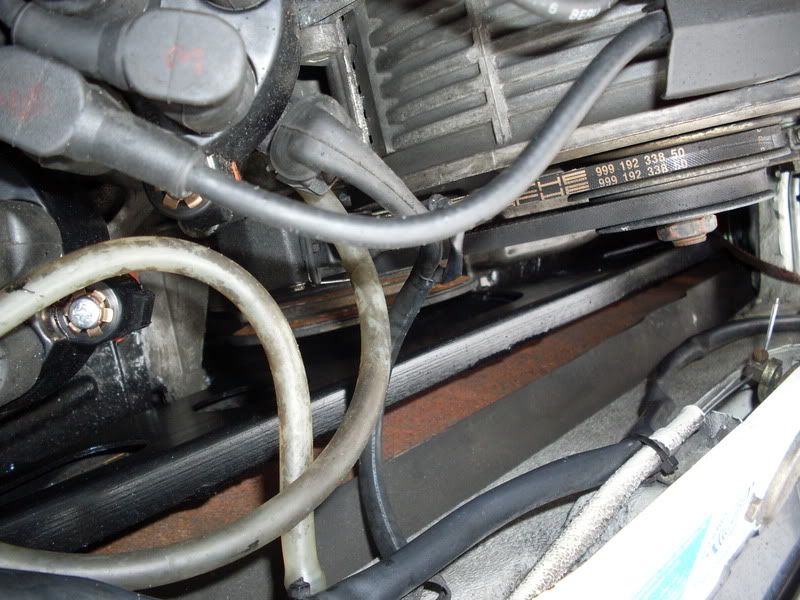
Another job I had tacked on while the car was at Unit 11 was to have them weld a brace to the engine carrier and have it powder coated. The brace was bought from Rennline in the USA and is there to guard against he possibility of the carrier snapping when driving the car hard on track. A snapped carrier would lead to an engine dragging on the floor!

A picture of the brace and with it welded to the engine carrier (black bar in the pic):


New Distributor Caps and Rotors (Mar 09)

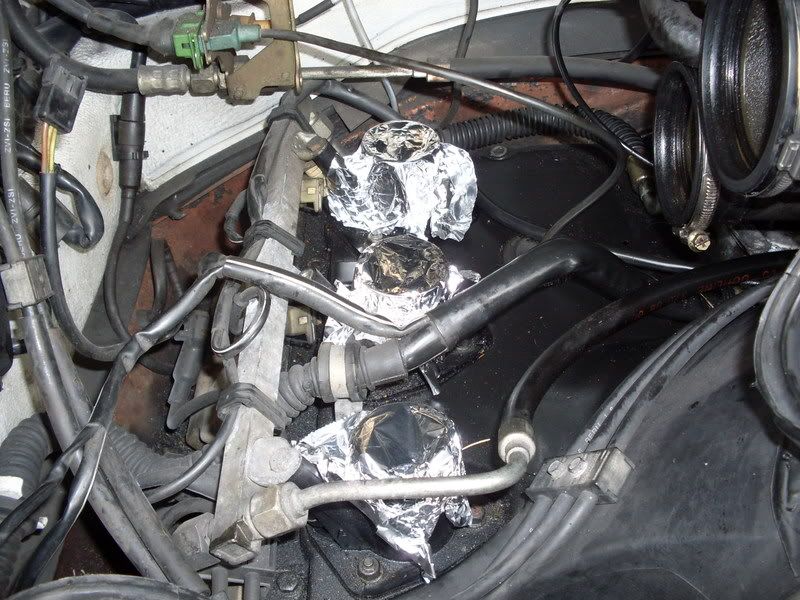
Fitting new caps and rotors required removal of the heater ducting on the left side of the engine bay so I also remove the heater blower motor and took the opportunity to remove the inlet manifold on that side and clean it out (the right side had already been done). Here's a photo taken while I was doing all that:


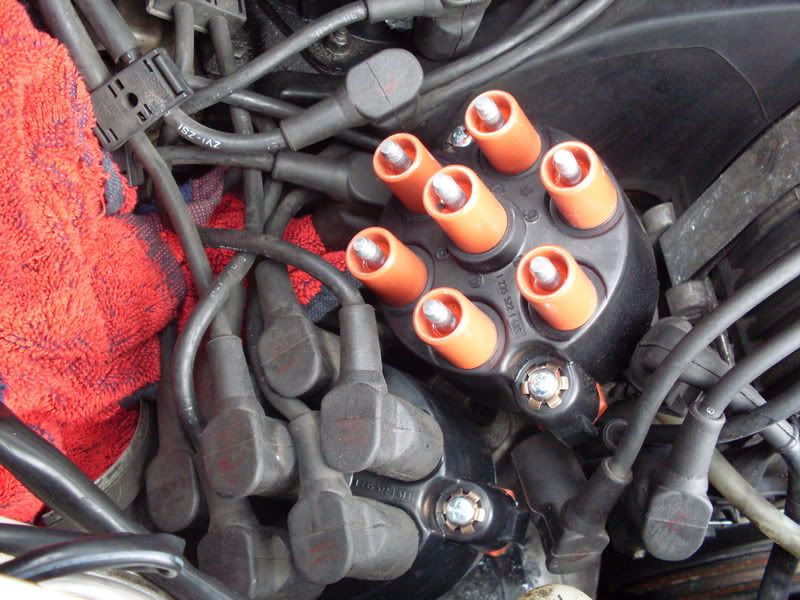
Just like earlier in this thread the manifold had a good amount of oil inside it which I cleaned out and then re-seated the manifold so that it was nice and leak tight. This should stop any minor leaks coming from there. Then it was time to get the distributor caps off. As you can see below with twin distributors, twelve plug wires and two coil wires it's a bit like spagetti junction so taking time to label everything up first with a marker pen is essential if it's going to go back together correctly:


The secondary distributor on 964s and 993s is driven off a small toothed belt so this is a good time to check what condition it's in. I'm happy to say that it looked fine as this has been nagging me for a while. If it breaks you get an immediate loss of power at the top end and can cause damage to the engine if it's driven for a long time with a broken belt, especially if the rotor arm stops on a particular pole causing the affected cylinder to be constantly firing.


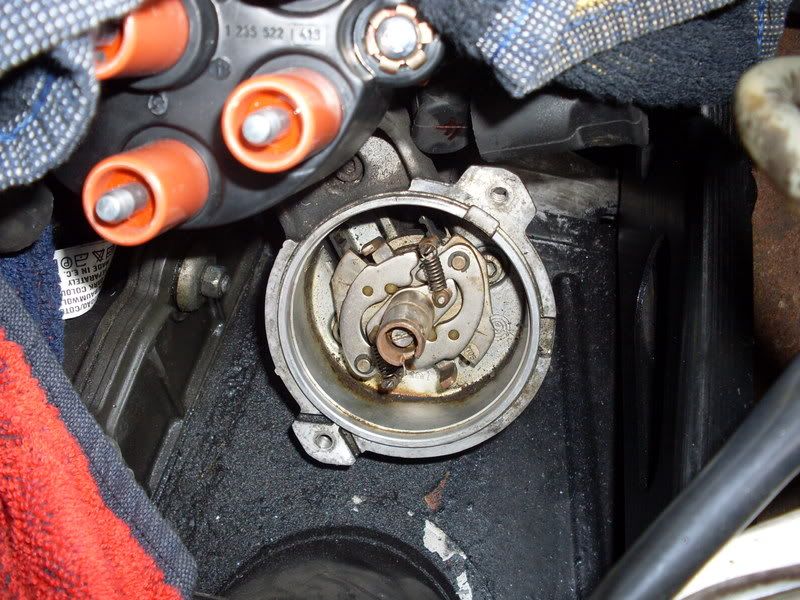
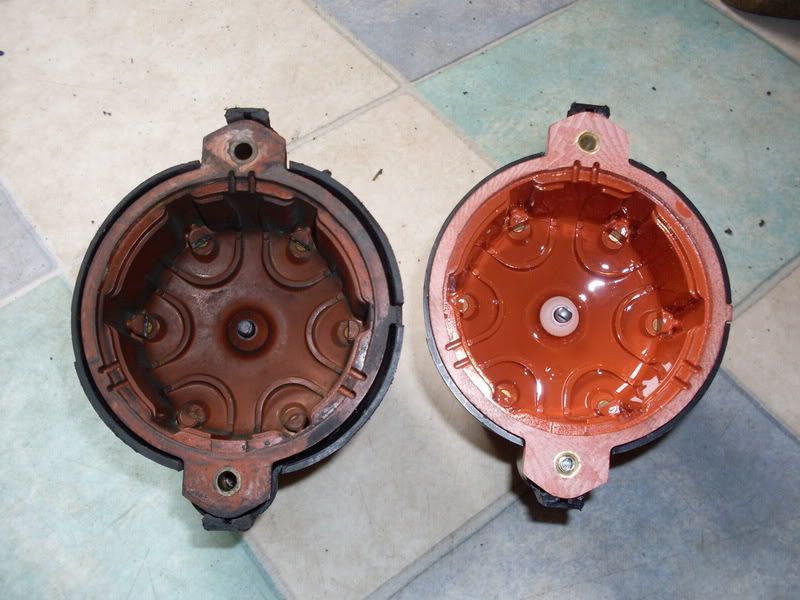
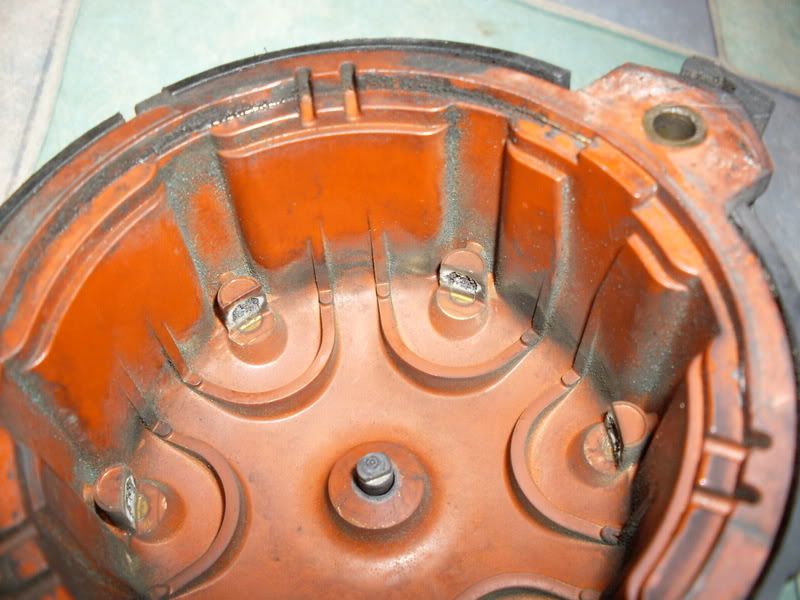
The old distributor caps and rotor arms were well past their sell by date as can be seen from the pics below.


Some say that badly worn dizzy caps (like mine) will lead to a loss of power. From the test drive after fitting the new parts I would tend to agree with this as the engine feels a bit more lively. But more importantly I'm glad to have those old caps off which I guess could have lead to misfiring.